Photography guidelines
All photography used in the university’s marketing materials follows a similar style to achieve brand consistency. Our subjects, environment and the look and feel of the photos define our style.
Note: All subjects who appear in a photograph or video are required to sign a release form.
Need additional photography advice? Contact us.
-
Style
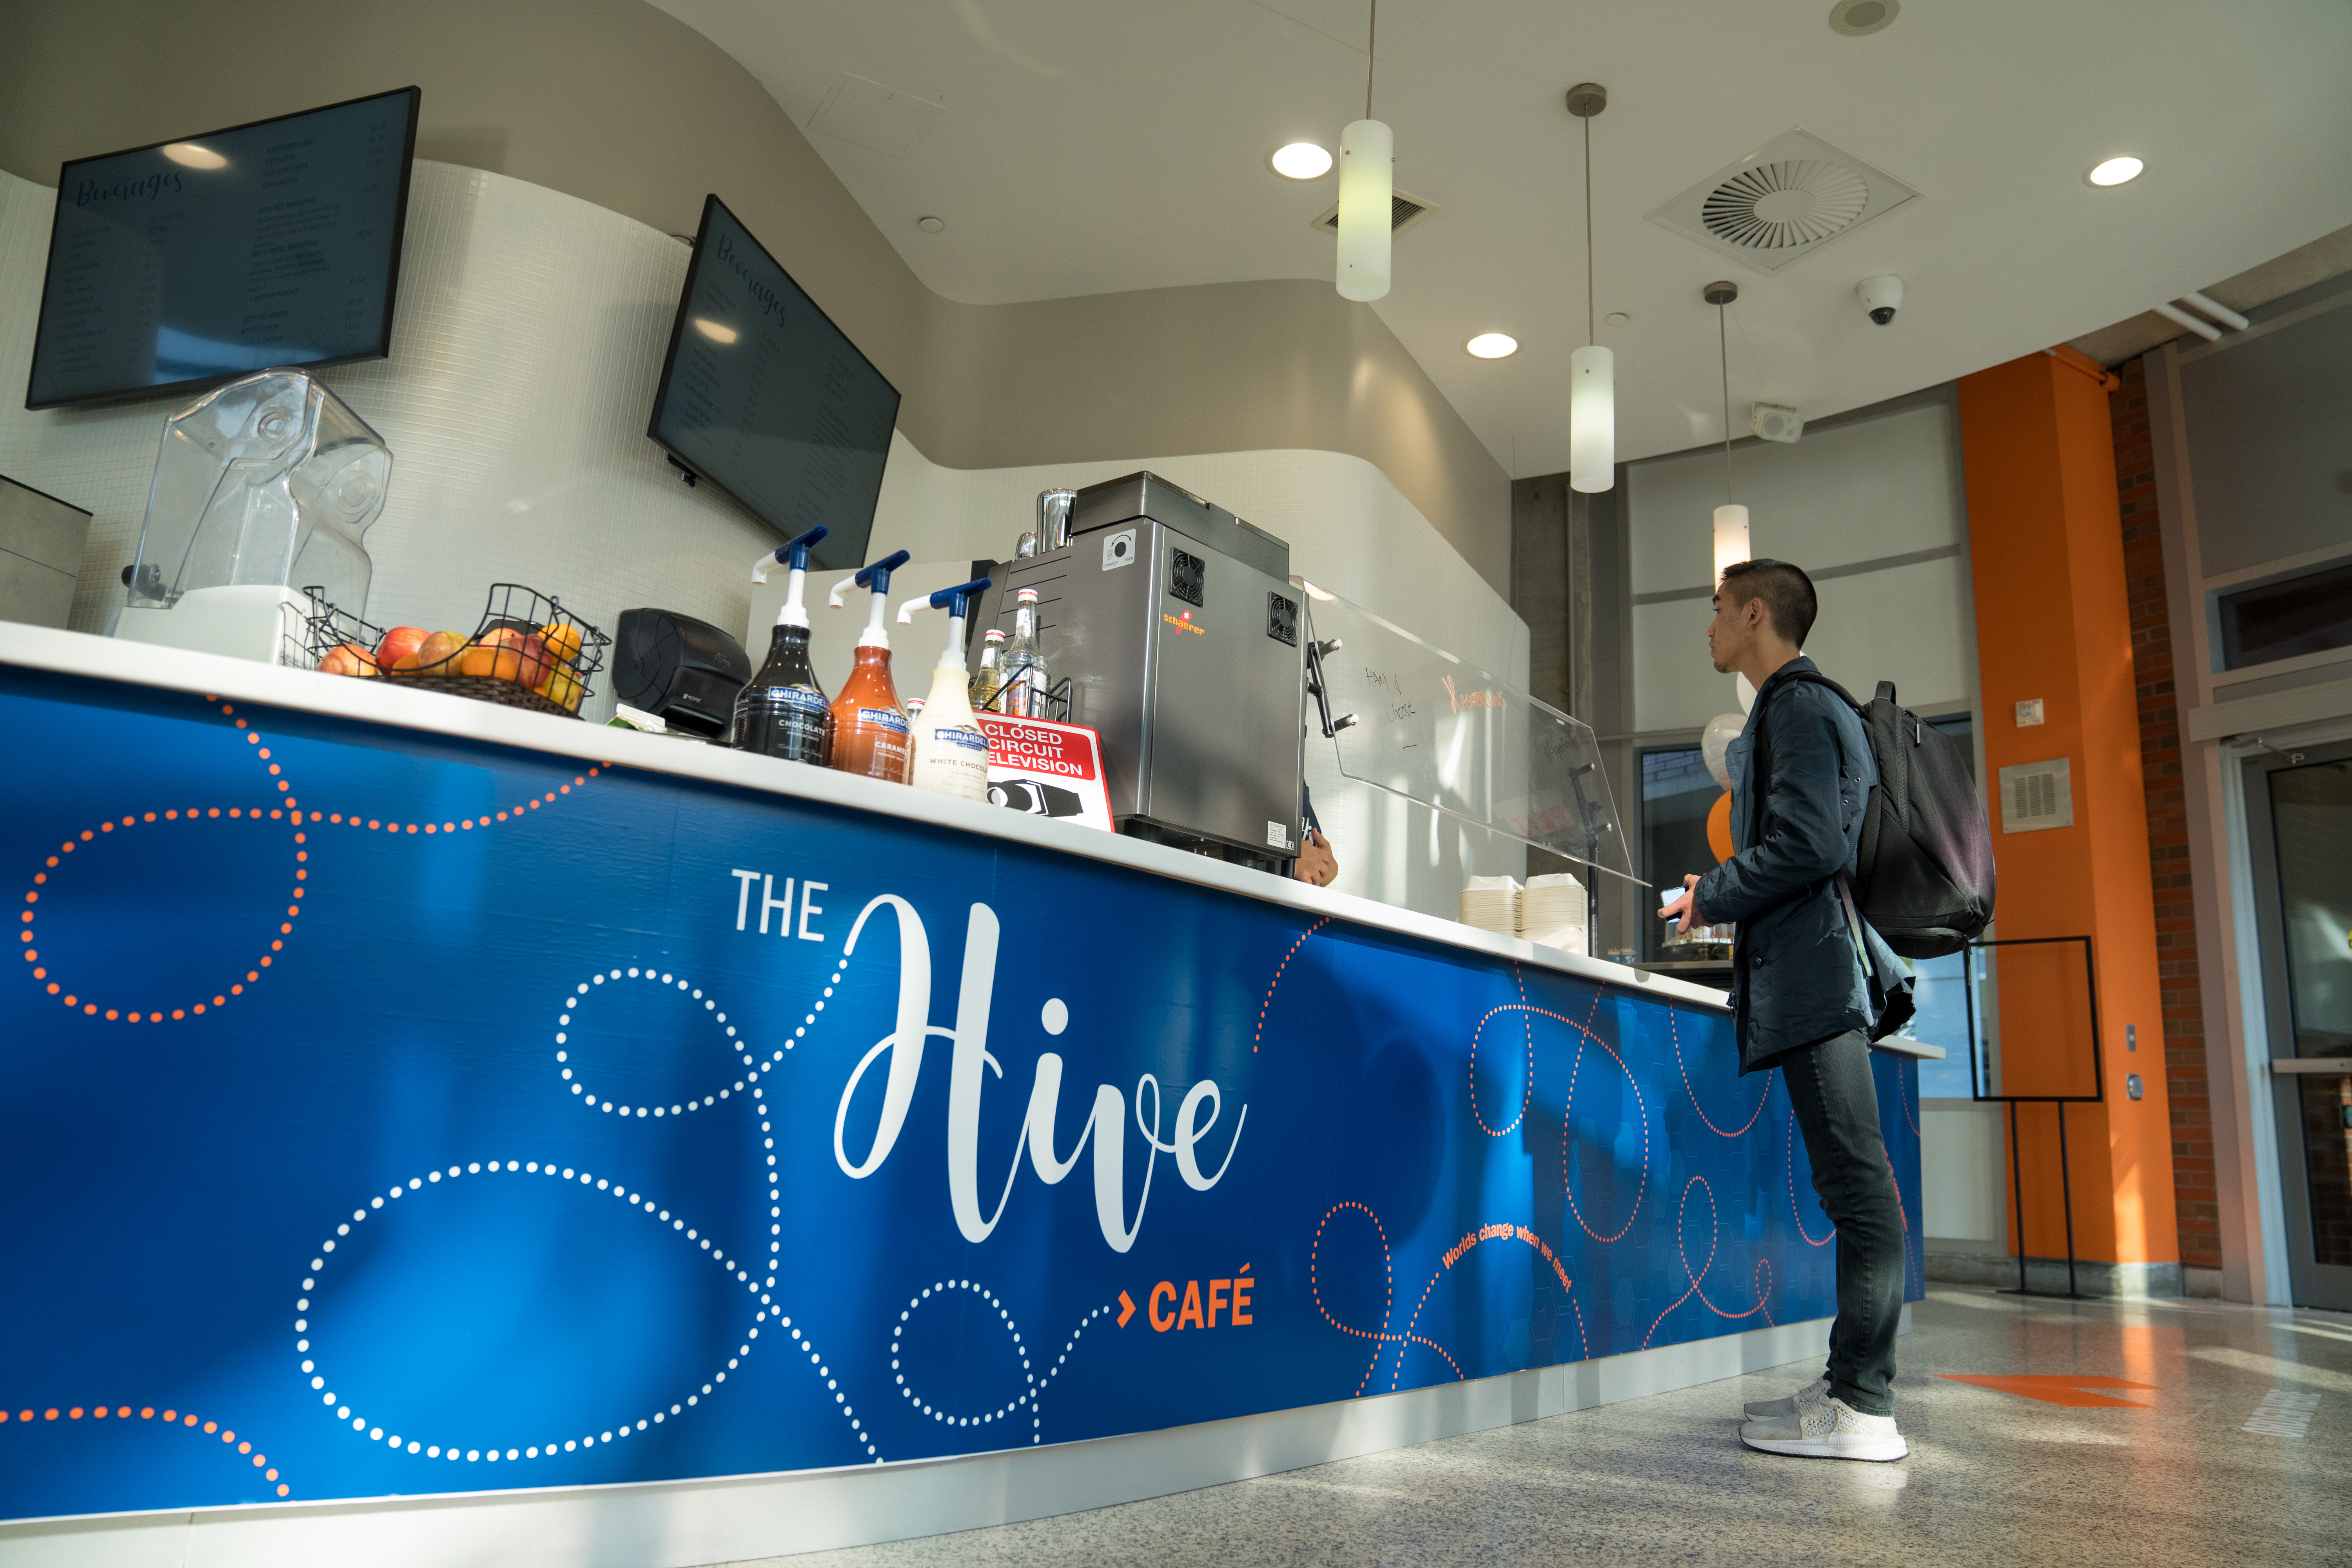
- Portray scenes in the most natural way possible, mimicking how they would be experienced in person.
- Take photos in open, bright environments when possible to convey a warm, welcoming feel.

- Avoid harsh shadows, extreme contrast and overly stylized effects (e.g. Instagram filters).

- Capture as much of the background/environment of your subject as necessary to communicate the full story.
- When capturing photos, always try to record a video testimonial. View our testimonial guide for tips and information on how to capture the best content.
-
Subjects
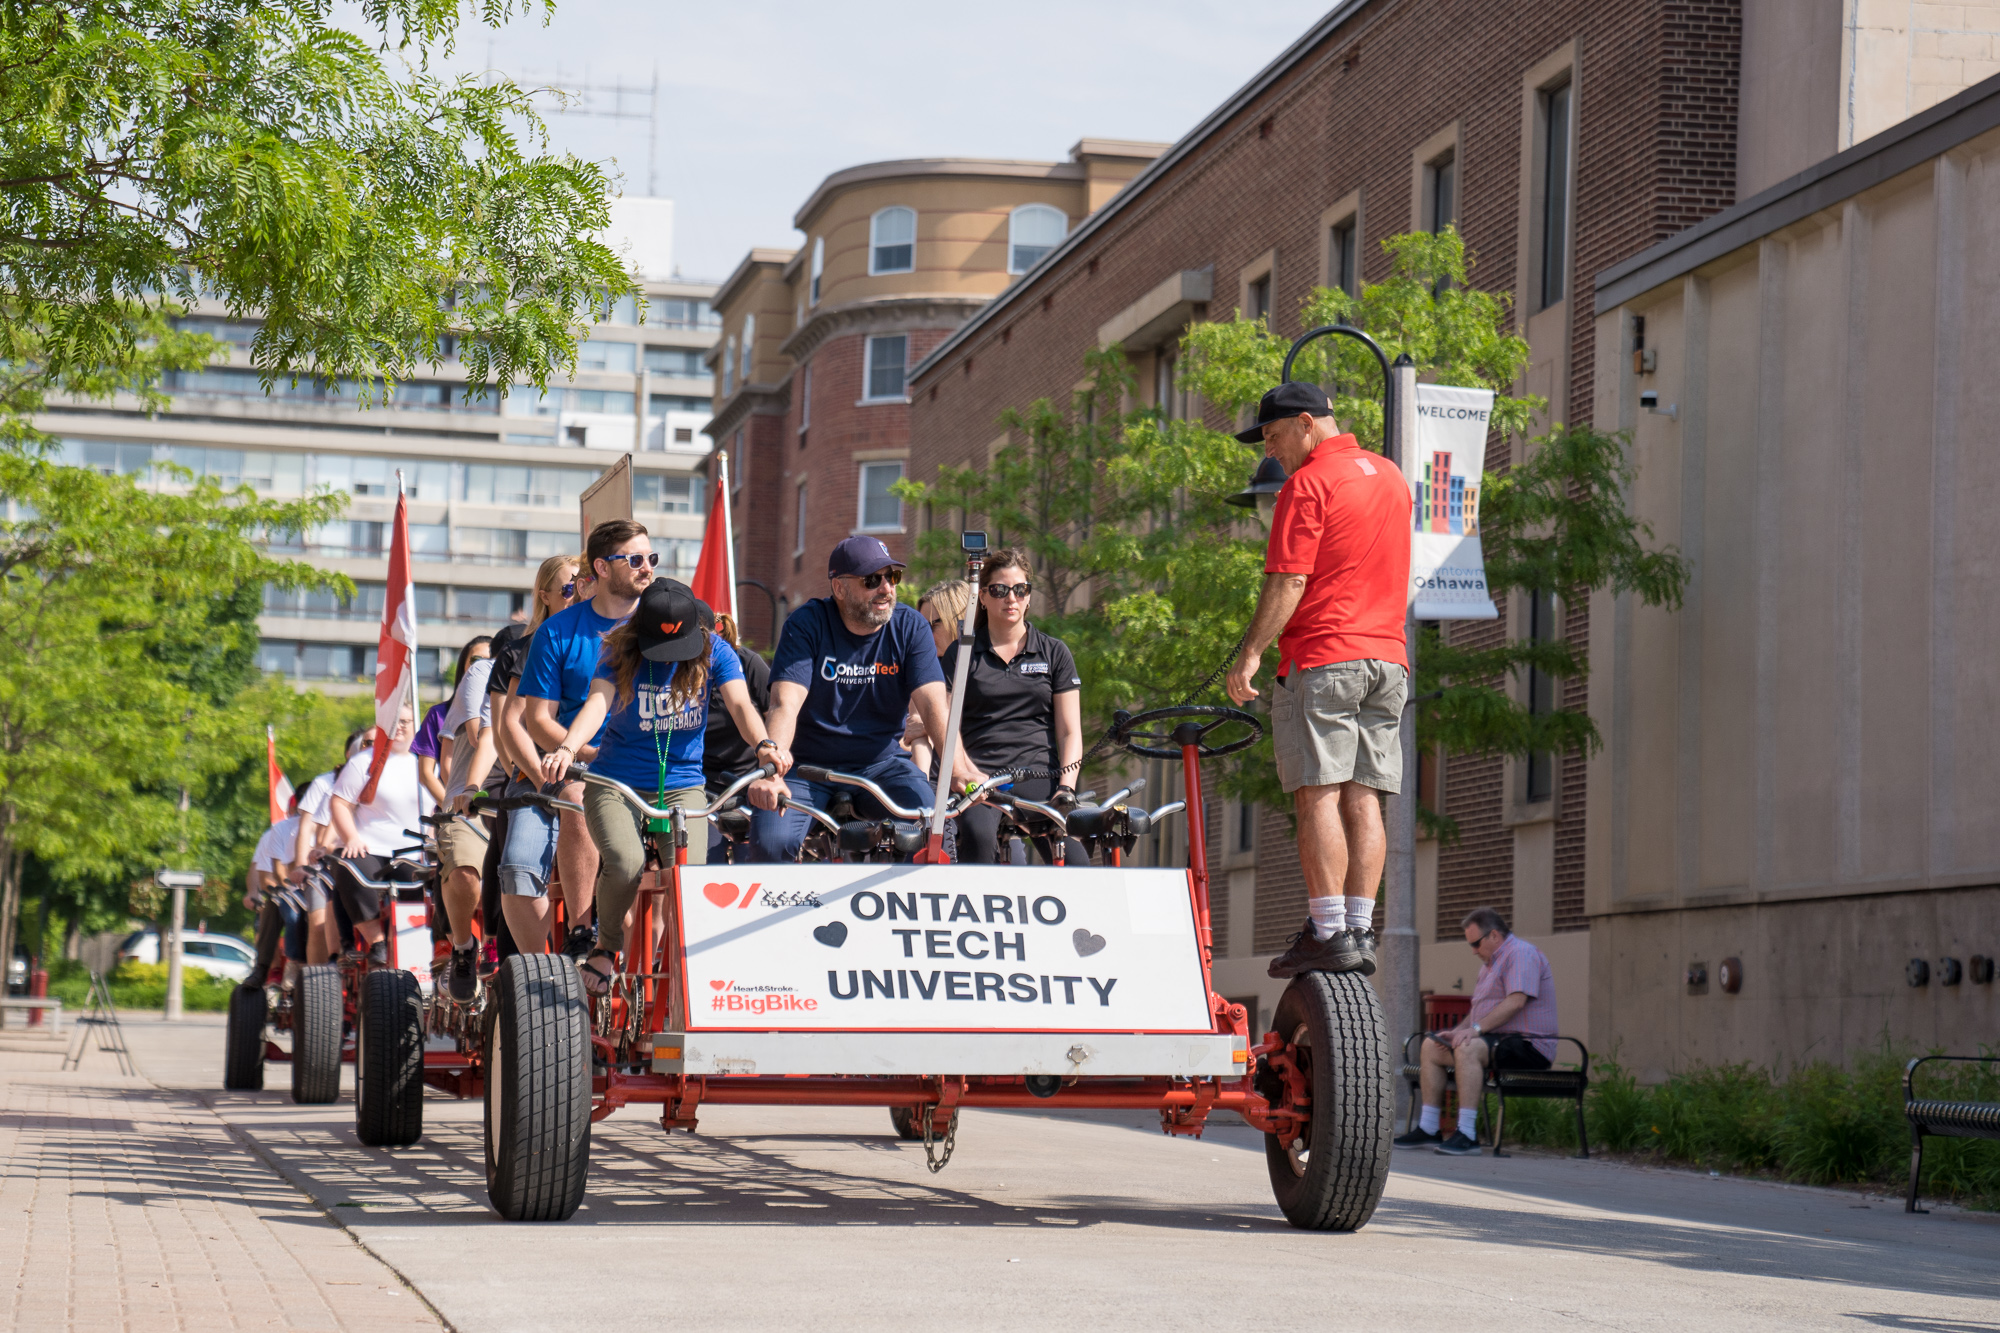
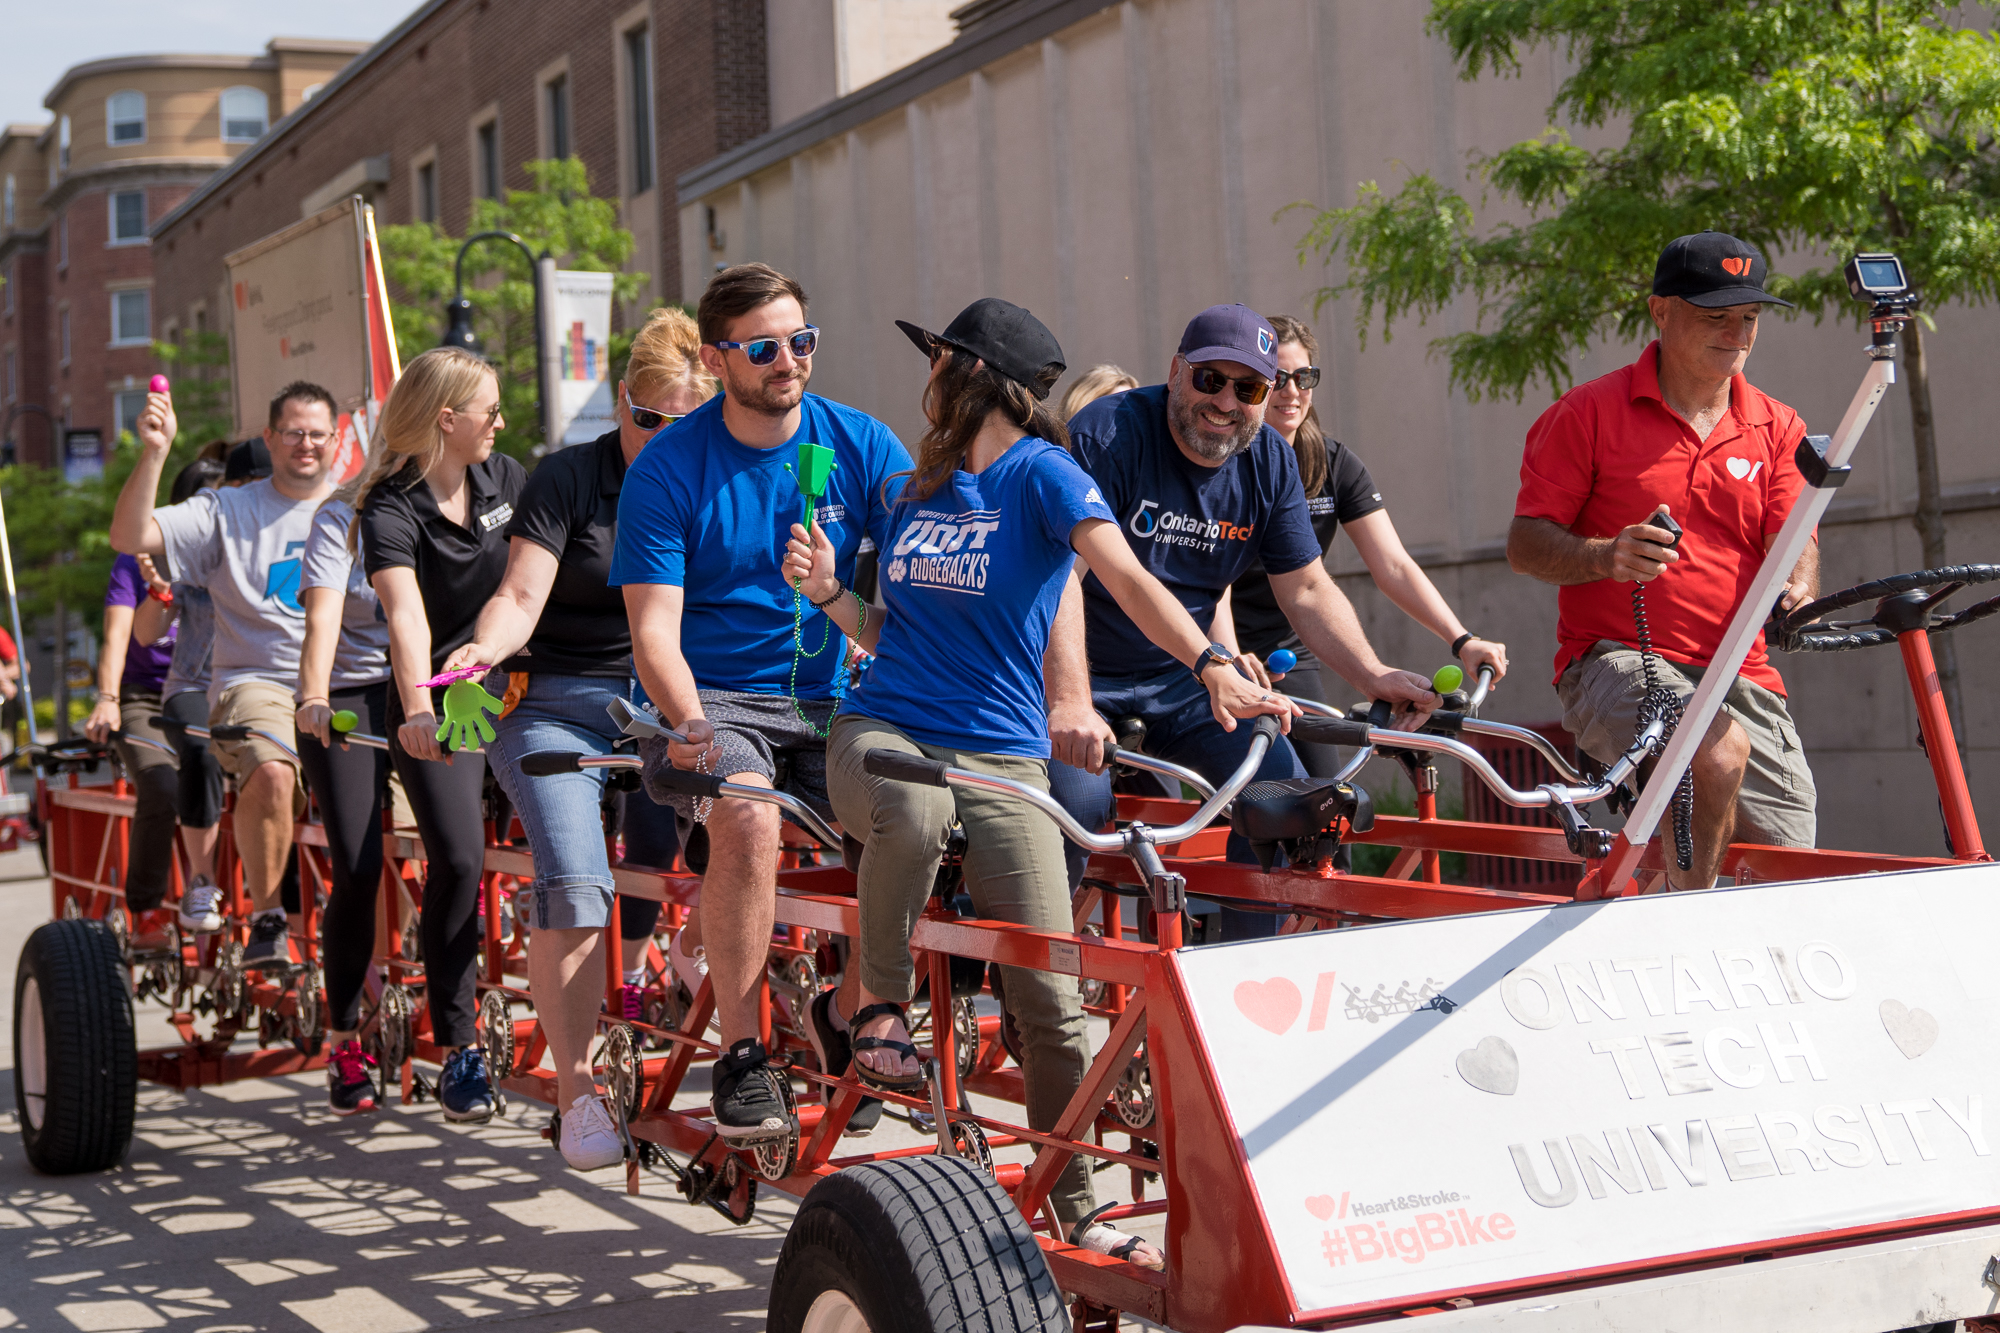
- Photograph the university community using students, faculty and staff to represent our environment and community accurately and appropriately.
- Capture a mix of posed photos, as well as candid moments and interactions.
- Show interaction between students, faculty and staff whenever possible.

- Highlight unique experiential learning opportunities.
- Consider diversity in culture, ethnicity and gender when choosing subjects.

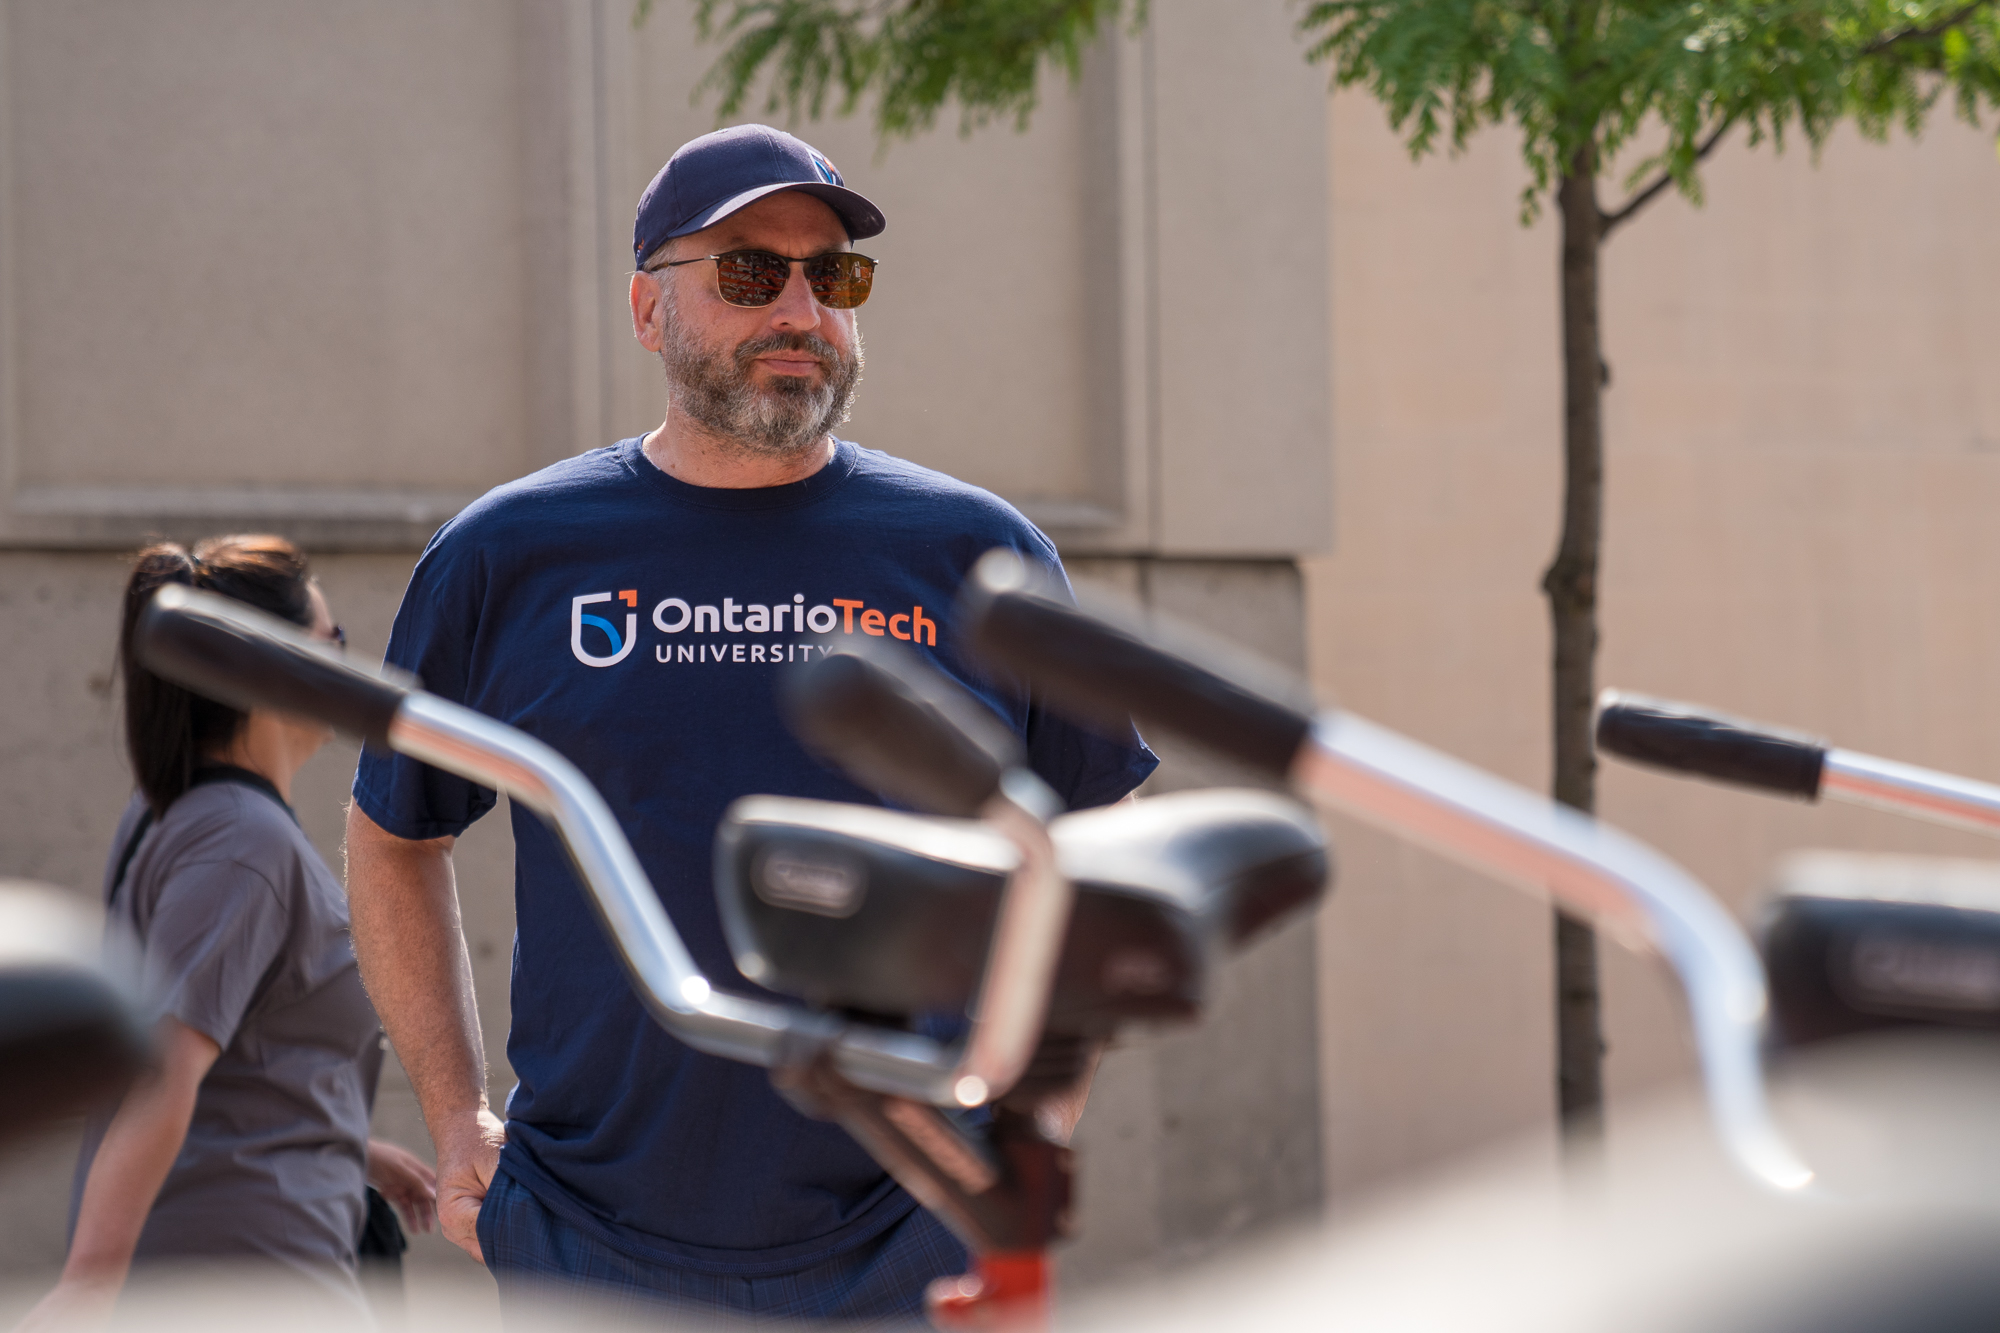
- Whenever possible, have subjects wear Ontario Tech branded clothing - at least one or two if shooting a group.
- Avoid distracting logos and branding on clothing or objects.
- Aim for some amount of lighter-coloured clothing for a single-subject or group photoshoot – darker clothing doesn’t appear as positively.

- Consider your audience and the potential long-term use of the photos (e.g. undergraduate or prospective students prefer younger looking subjects, graduate students connect with older looking students, subjects who make eye contact with the camera are preferred for Advancement materials, etc.)
-
Tips
- Let your subject breathe and leave some extra negative space for copy.

- Don’t stand still; try photographing your subject from a variety of angles and perspectives.
- Take a mix of wide, medium and close-up photos, to more thoroughly tell your story.
- Take plenty of photos, especially when someone is speaking as you may catch them in an unflattering pose. Consider where your photos could be used and photograph accordingly.
- Where possible, shoot images both horizontally and vertically.

- Horizontal images are required for most uses, while vertical images are best for social media. If multiple platforms are being used and only one shot can be taken, shoot horizontal. The image can be cropped for vertical use if needed.
- Web banners, which are horizontal and very wide and narrow, require a lot of empty space around the subject(s).
- Photography used in print is often a mix of horizontal and vertical, but in all cases, requires high-resolution images. Select the highest resolution and quality that your device can output for photo and video capturing.
- Use available light when taking photos indoors (e.g. a window or other light source) and avoid shooting in the direction of the light source. Keep the source behind or to the side of the camera.

Light coming from the left side
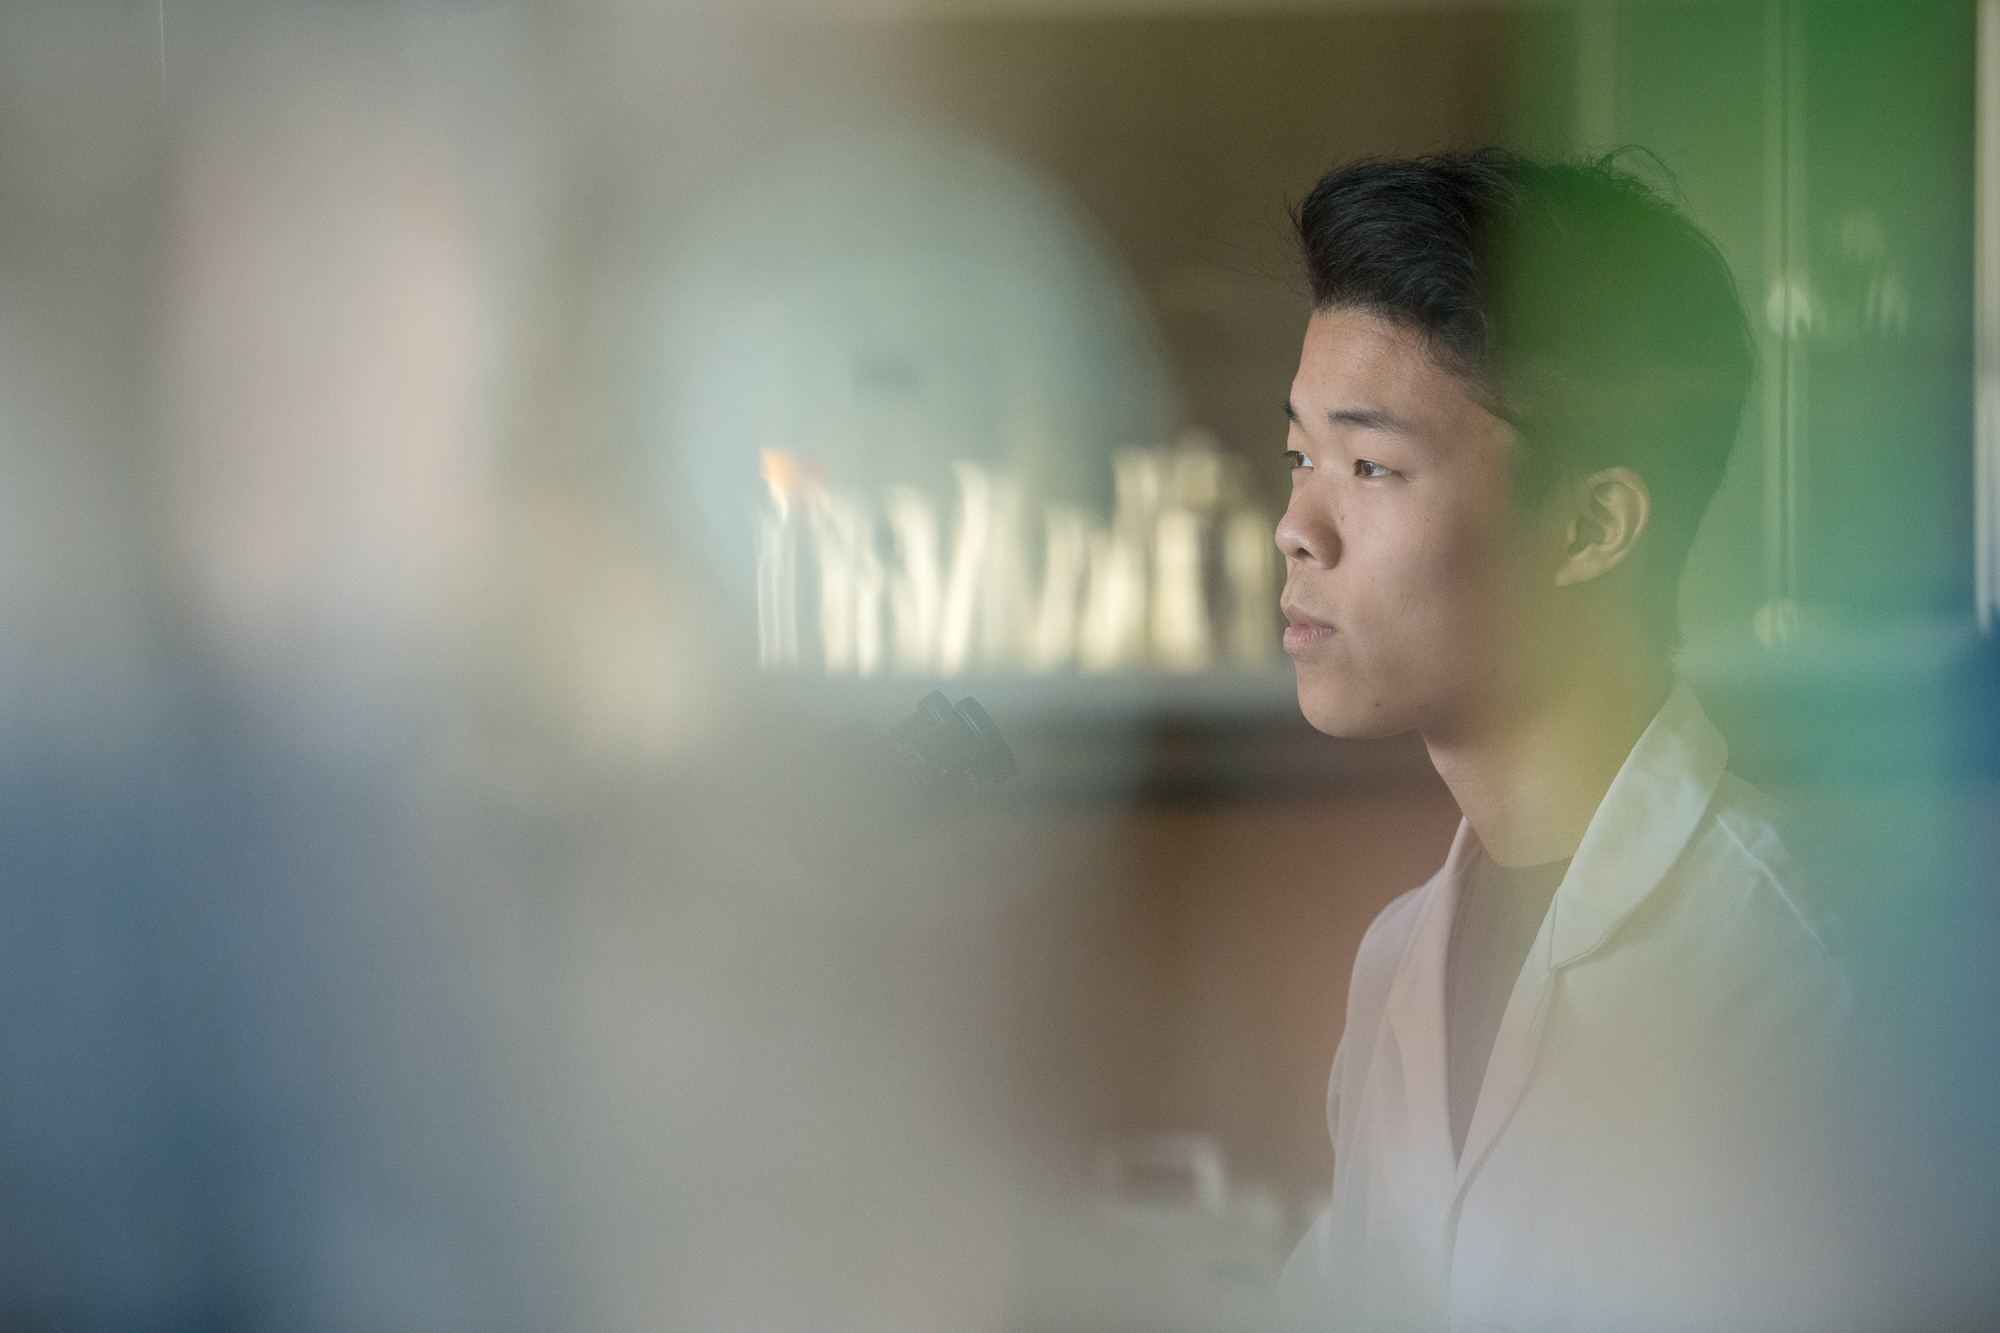
- Don’t be afraid to use depth and shoot 'through' objects to really make your subject stand out.
-
Stock photography
- If you require stock photography:
- Communications and Marketing has a subscription to Envato Elements, so feel free to check there first and let us know if you find anything you like.
- You also have the option to purchase images from other reputable services such as Shutterstock or Thinkstock.
- Avoid using Creative Commons, a knowledge and image-sharing database, or images marked for editorial use only.
- Do not use photos found on Google Images.
- If you require stock photography: