Inline or embedded images
Inline or embedded images are images that appear in the content area of the page.
The recommended aspect ratio for inline images is 3:2 with minimum dimensions of 300px W x 200px H.
Uploaded images should be less than 2000px wide/tall. You can resize the image when embedding it on the page. This keeps the original high-quality image for reuse in different contexts.
How to
How to
Embed an inline image
- If using your own image (not from the Asset Library), upload it to the Shared Assets website in the CMS.
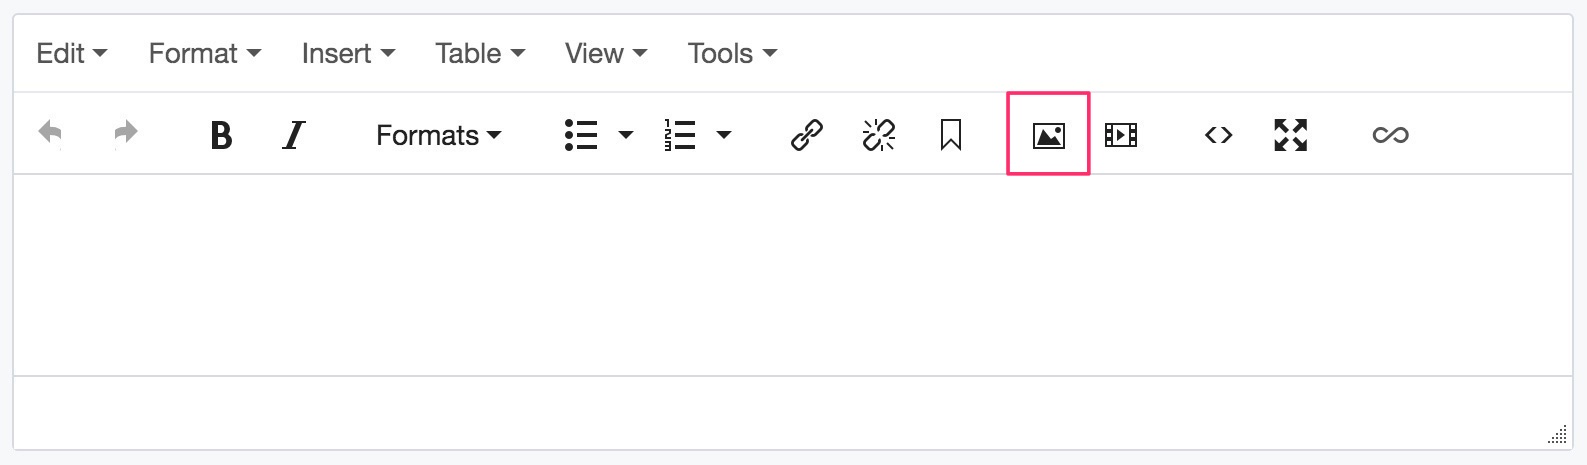
- On your site, create or edit a page and place your cursor in the WYSIWYG editor where the image should appear. Select the Insert/edit image icon (or right click > Image).
- The image editor will open.
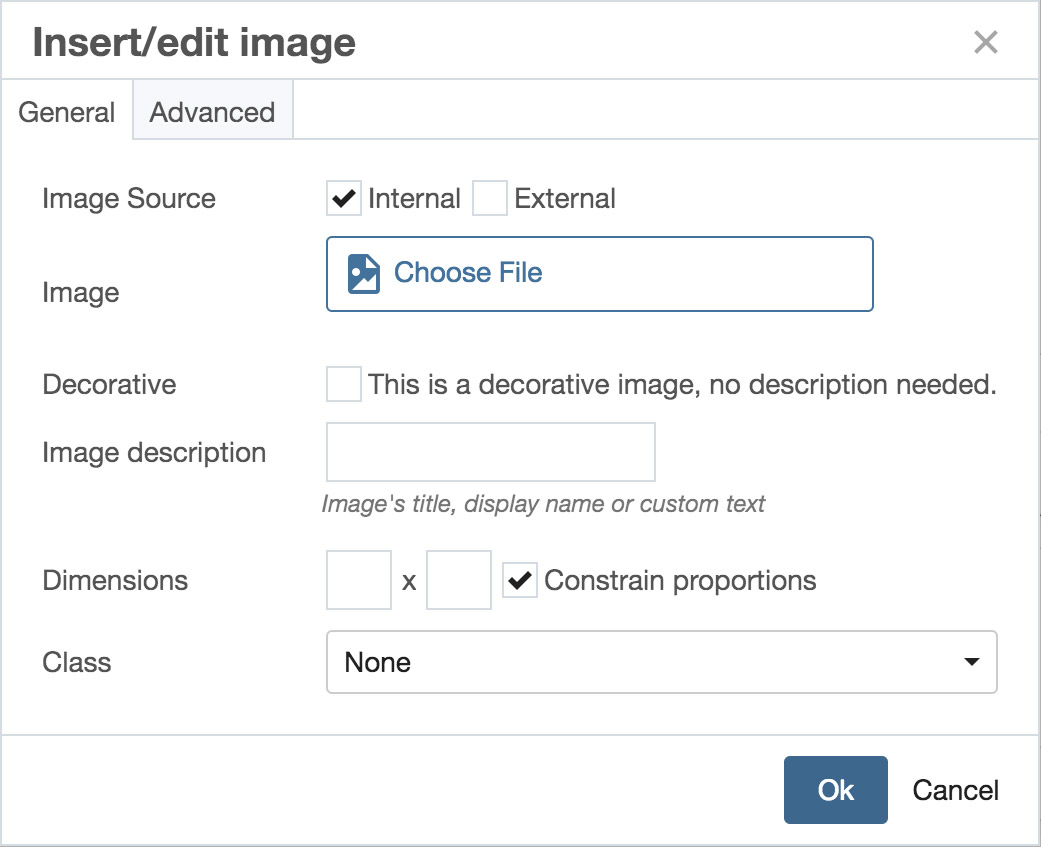
- Image source - where the image is stored.
- Internal - for images in the CMS.
- External - for externally-hosted images.
- Image
- Internal - link to the image in the Asset Library or Shared Assets site.
- External - paste the external URL.
- Decorative - leave unchecked unless the image is purely decorative (e.g., background graphic or patterns).
- Image description - add brief alt text (e.g. "Polonsky Commons in the summer").
- Dimensions
- Keep Constrain proportions checked to maintain the aspect ratio.
- Resize the image if necessary.
- Class - (optional) a style to add to the image. For example, if you would like the surrounding text to wrap around the image, select float-left or float-right from the dropdown list.
- Image source - where the image is stored.
How to
Float an inline image (wrap text around the image)
- Click the embedded image in the WYSIWYG editor.
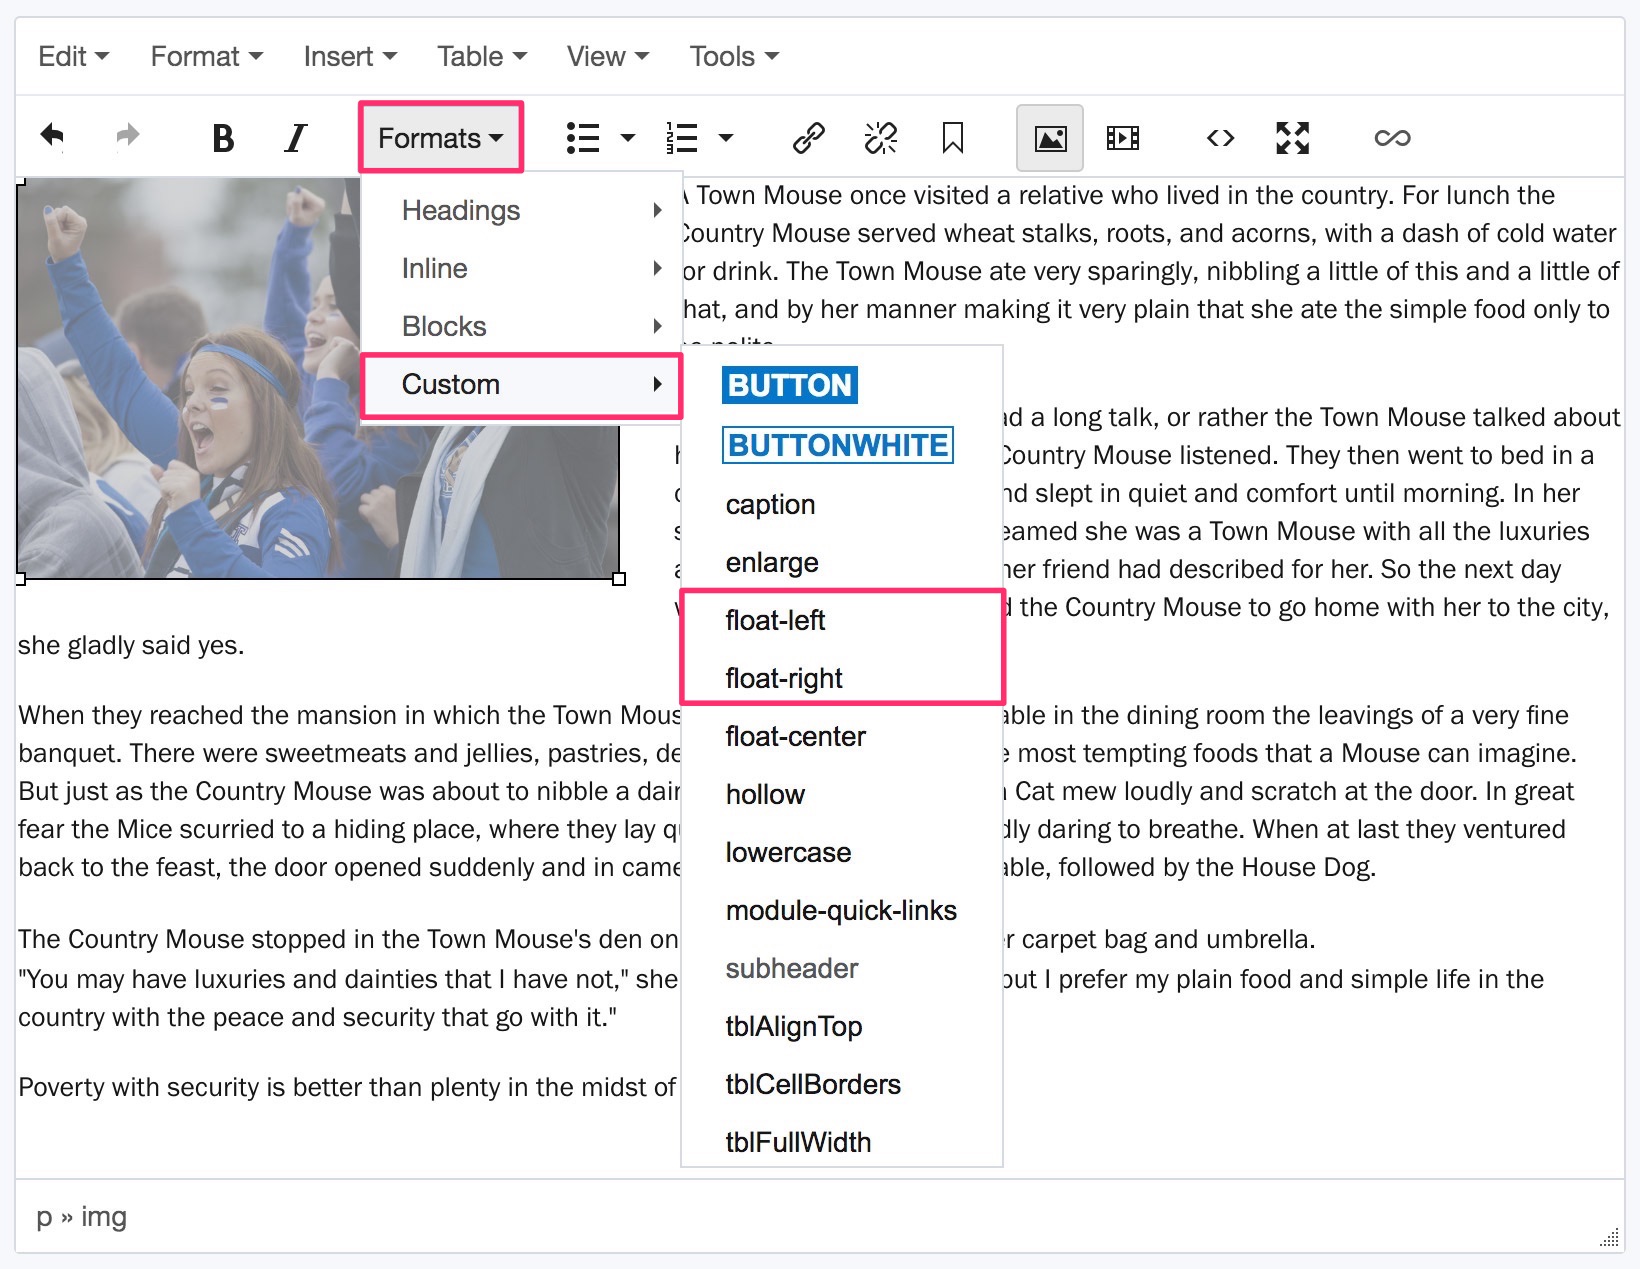
- From the Formats dropdown, select Custom, then choose:
- float-left - image on the left, text wraps around on the right
- float-right - image on the right, text wraps around on the left