Uploading files to CMS Shared Assets
Uploading an image from the Asset Library? Stop! The image is already in the CMS—link to it directly from the Asset Library CMS site.
File requirements
- You can upload most types of files to the CMS, including .docx, .pdf, .xlsx, .jpg, .png, .zip
- Videos should not be uploaded to the CMS. They should be uploaded to a video hosting platform such as YouTube or Vimeo. Then you can embed the video on a CMS web page.
- Individual files must be less than 1MB in size. If you need to upload a larger file, contact us.
- Images should be resized to 2000px wide/tall or less.
- Be sure to review the image guidelines and document guidelines before you upload files to the CMS.
How to
How to
Upload files to the Shared Assets website
- Ensure you have copyright/ownership of images before uploading them. In the Shared Assets website, select the folder where you want to upload your file(s).
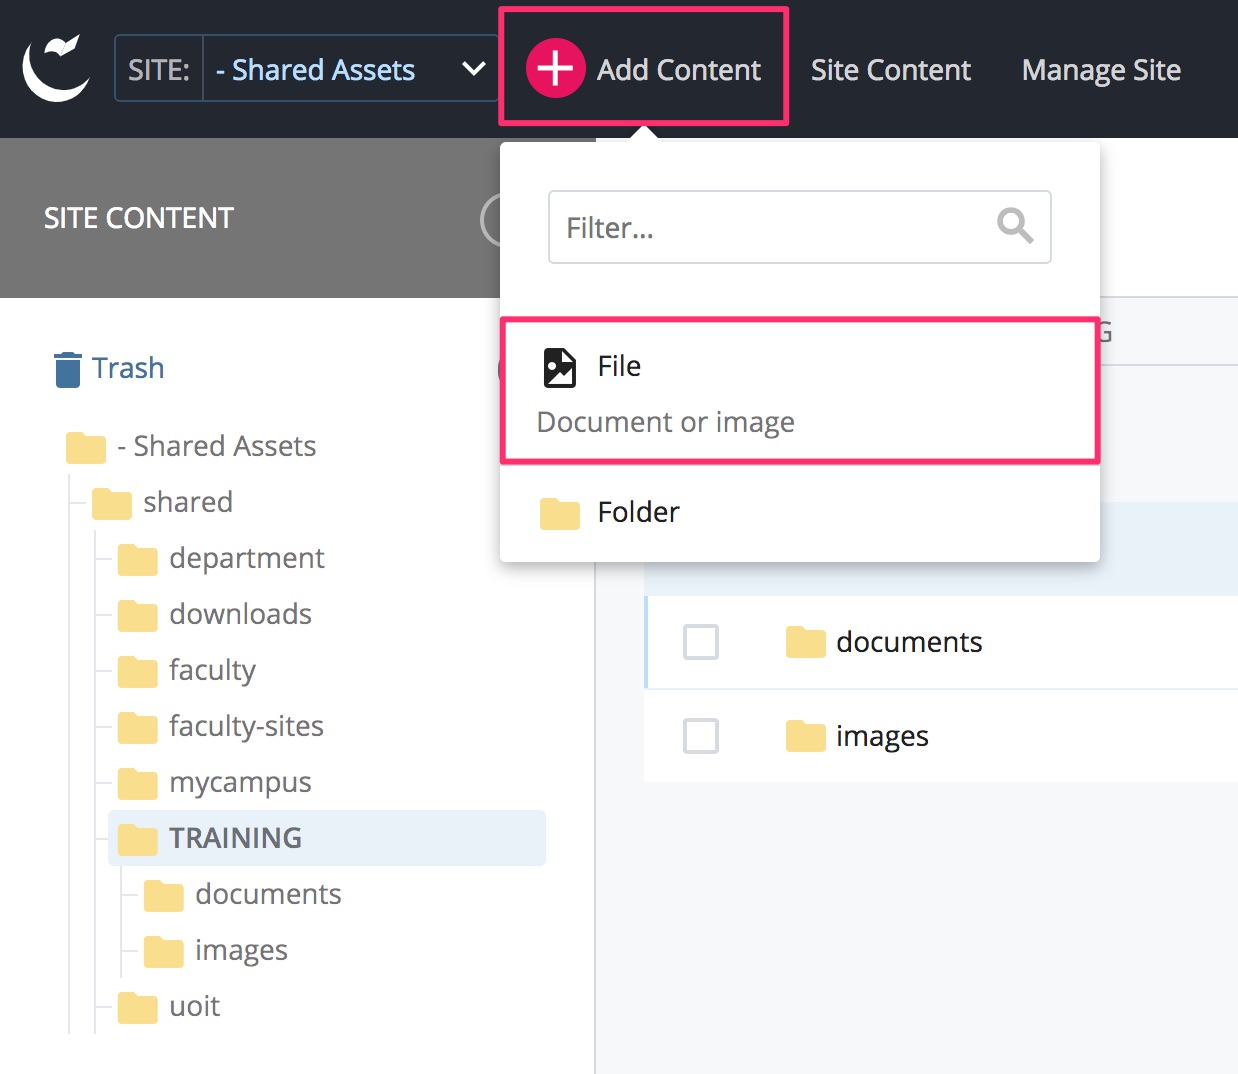
- From the main toolbar, select Add Content > File. The file upload window will open.
- Select the appropriate Placement Folder (where the images will be uploaded).
- Scroll to the upload section and drag and drop the file or select choose to browse.
Ensure the filename does not contain special characters (e.g. parentheses or brackets).
- If you're uploading a single file, scroll up and add Keywords and Description. If you're uploading multiple files or a zip file, proceed to the Upload multiple files at once section below.
- The File Name field auto-fills with the name of the uploaded file. Rename the file if needed, being sure to follow naming conventions (lowercase, spaces replaced with dashes, keep names generic).
- Click the Advanced Submit button (3 vertical dots, top right) then Submit or Check Content & Submit.
- Select Start Workflow to auto-publish the file (keep the default workflow settings) or manually Publish from the asset editing toolbar.
How to
Upload multiple files at once (including zip files)
- You can select or drag and drop multiple files to the upload box. When you add more than one file to the file upload box, the CMS will automatically switch to the bulk uploader tool.
- If you upload a zip file, the CMS will ask whether to extract the files:
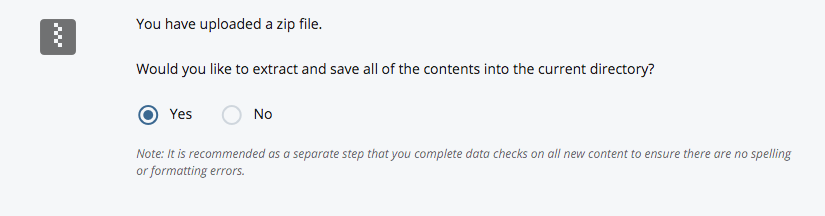
- Yes - the CMS unzips the file and extract its contents (all of folders/files inside your zip file will be added as individual files/folders in the CMS).
- Click the Unpack in the top right corner of the file upload window. This may take a few minutes—do not refresh your browser window or cancel.
- No - the zip file uploade as is, useful if you want to provide it as a downloadable file.
- Yes - the CMS unzips the file and extract its contents (all of folders/files inside your zip file will be added as individual files/folders in the CMS).
- Publish your uploaded file(s).
For bulk-uploaded images, be sure to edit each image and add proper metadata for AODA compliance. Photo gallery captions use the text from the Description field.