Page
Add a page
- In the Main toolbar, navigate to the website you want to edit from the Site dropdown menu.

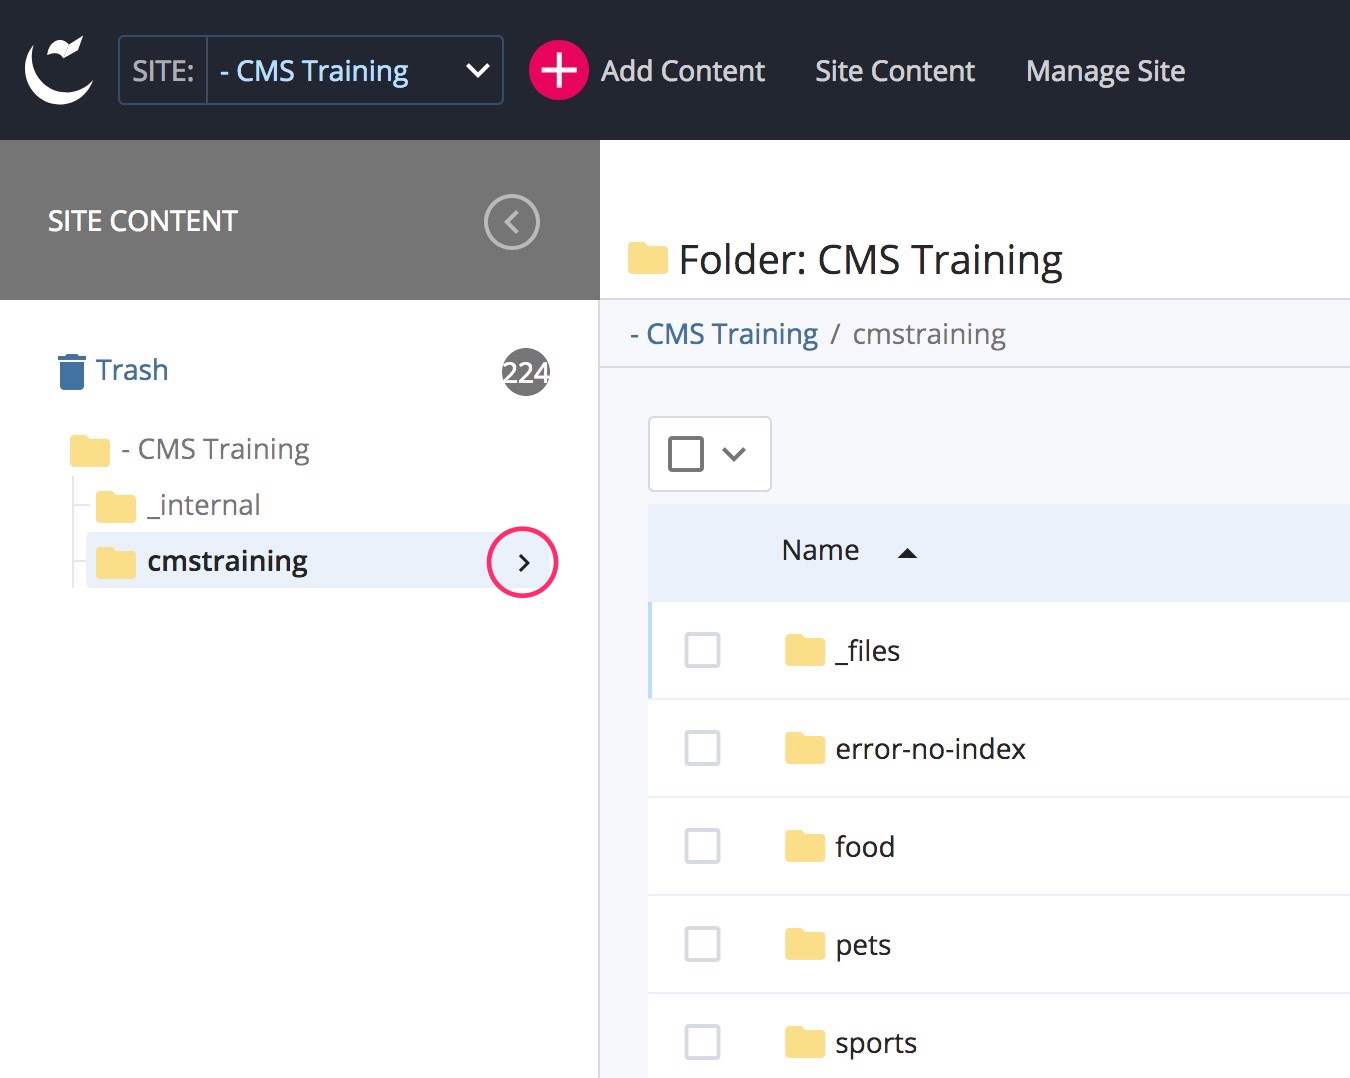
- Once you are on the selected site, browse to the folder in the Site content menu where you want to add your new page. Select the folder (hover over the folder name until the chevron on the right appears, then click the chevron).
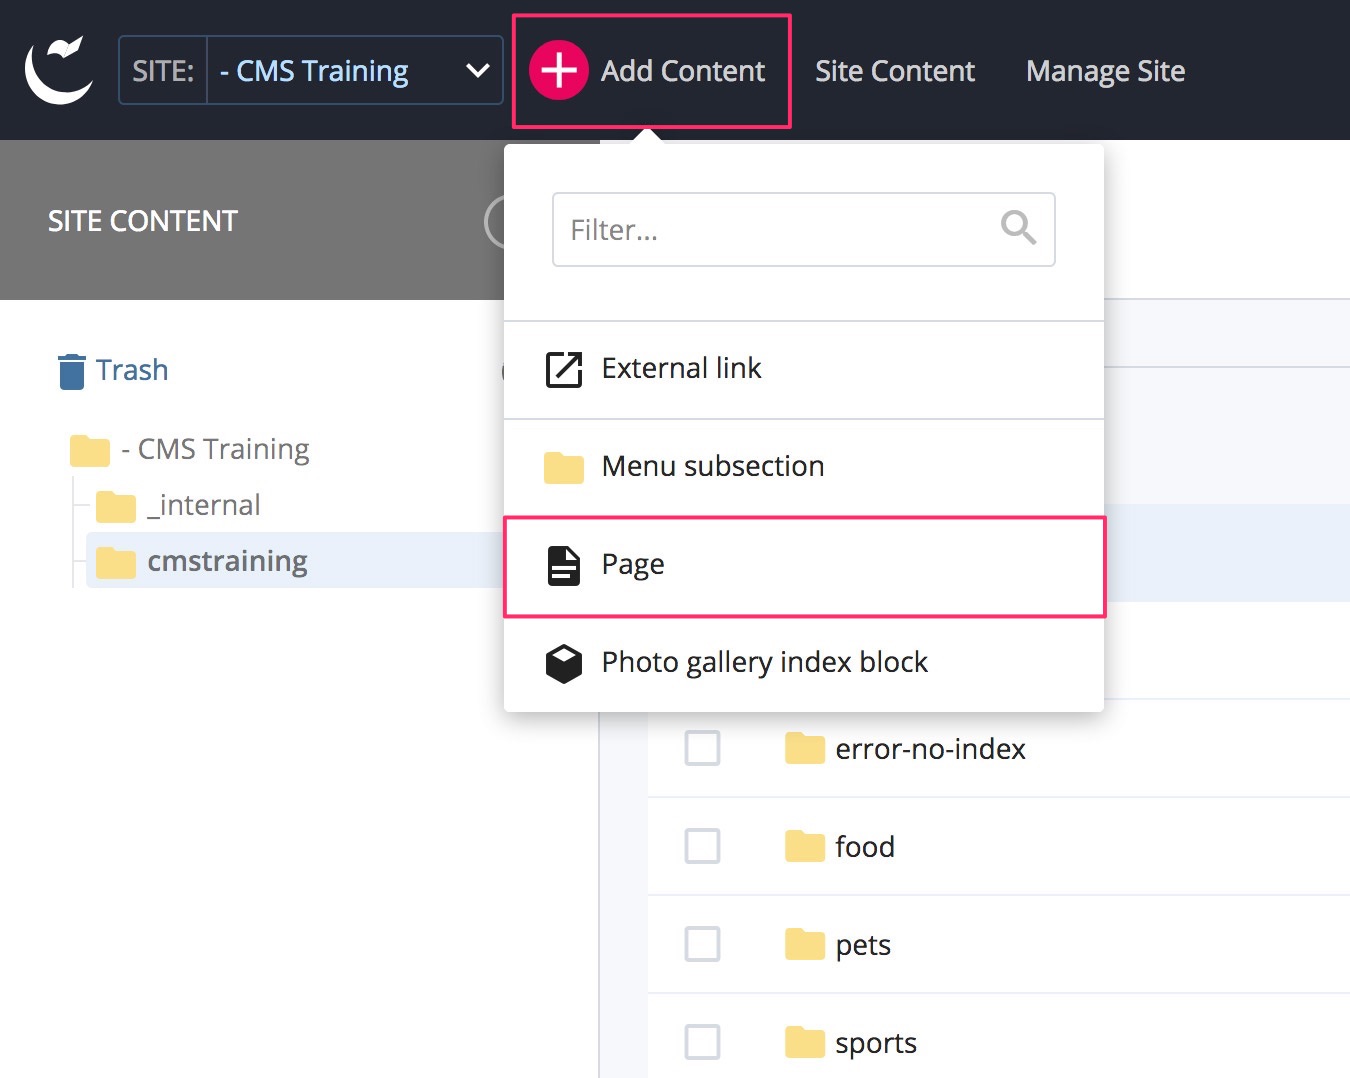
- From the Main toolbar, select Add content, then choose Page.
- The page editor will appear. Complete the following metadata fields in the Content tab:
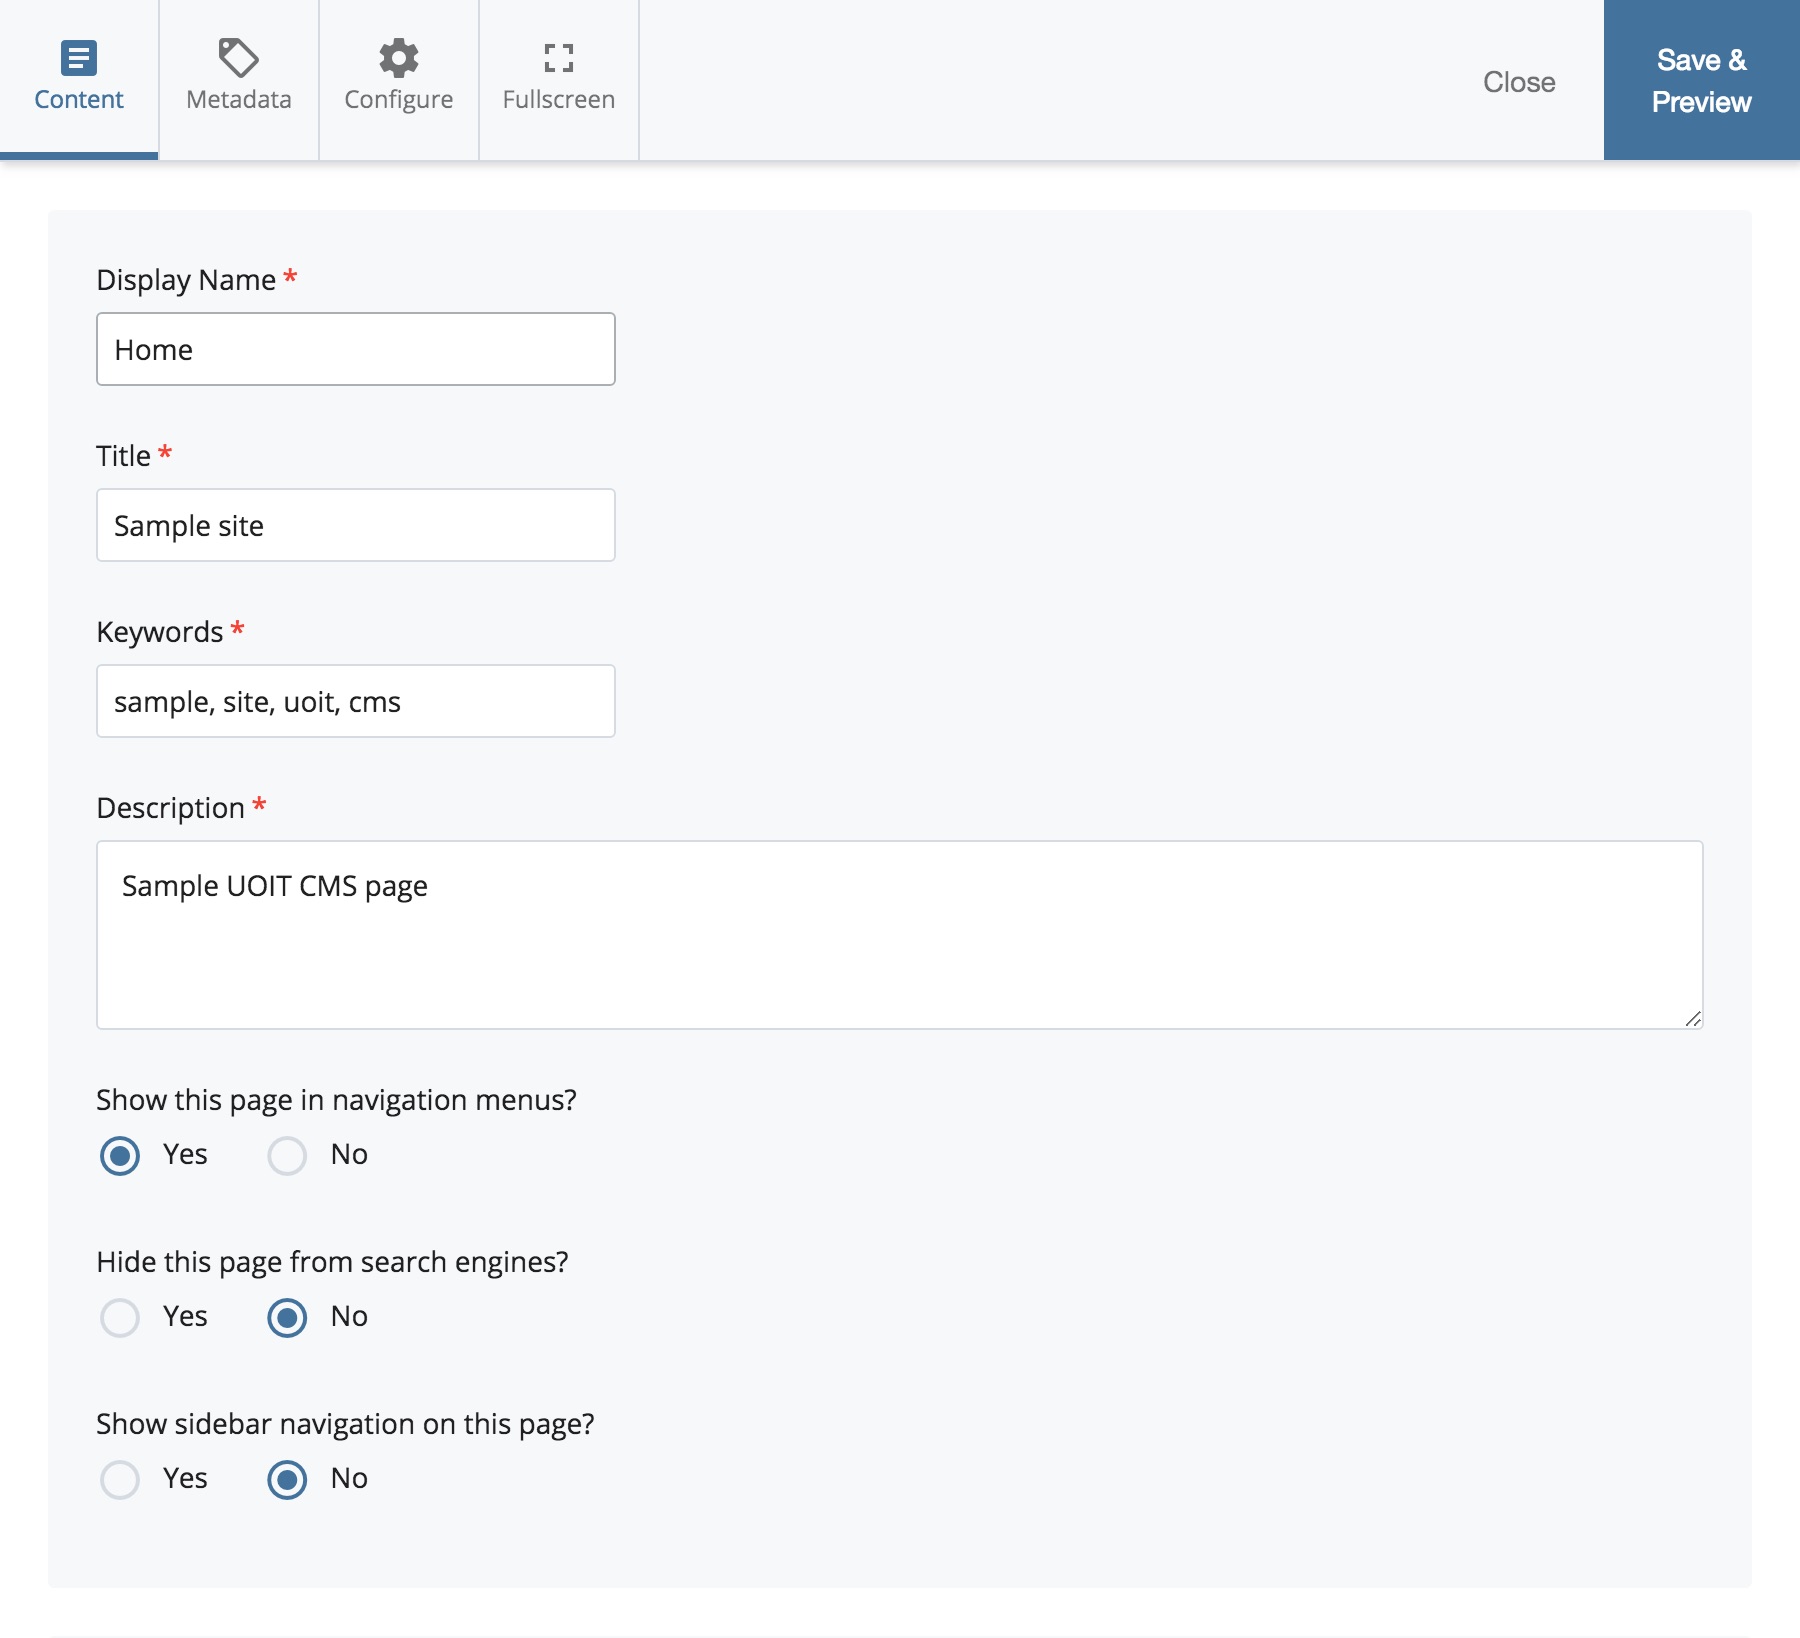
- Display Name - (metadata field) the name of a page or asset that appears in the navigation menu. This is typically the same as the Title of the page, unless the Title is too long, in which case a shortened version is used for the Display Name. The Display Name is usually used to generate the File Name in the CMS.
- Title - (metadata field) the full name of a page that appears on the web page (the title at the top of the page content).
- Keywords - (metadata field) a comma-separated list of keywords that are on the page that is used by search engines. Search engines will look for and index the keywords on every page to provide users with relevant search results.
- Description - (metadata field) a short summary or description of the content on the page (usually one sentence long). In search engine results, this is the page description that appears below the search result/page name.
- Show in navigation menus - (metadata field) choose whether to have a page or folder appear in the navigation menus. You can publish a page to the live website, but exclude it/unlist it from the navigation menu. If the URL of the page is known, the unlisted page can still be accessed.
- Hide from search engines - (metadata field) if a page is excluded from navigation menus, choose whether the page should also be excluded from search engine results. If the URL of the page is known, the unlisted page can still be accessed, but a search query in a search engine will not list the page.
- Show sidebar navigation is a metadata field that that shows or hides the sidebar navigation menu on the current page. If set to No, the text content will span will span the full width of the page content area.
-
There are two page templates in the CMS: Standard page and Global page. If your site was created prior to Fall 2019, your site most likely has the Standard page template. If your site was created afterwards, or if you've made a special request, then your site will have the Global page template. The available content components are generally the same between the two templates; the major difference is that the Global page offers more flexibility in the order of components on a page.
You can determine which page template you're using by scrolling just past the Metadata section at the top of the page editor. The editor will show either the Standard or Global page label.
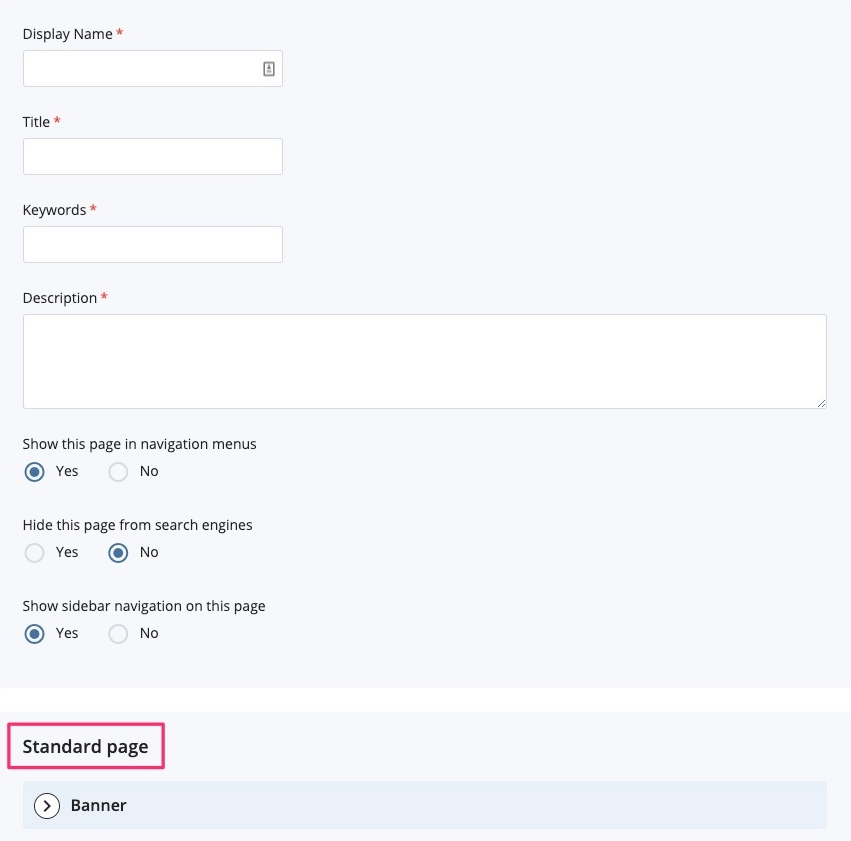
Standard page template 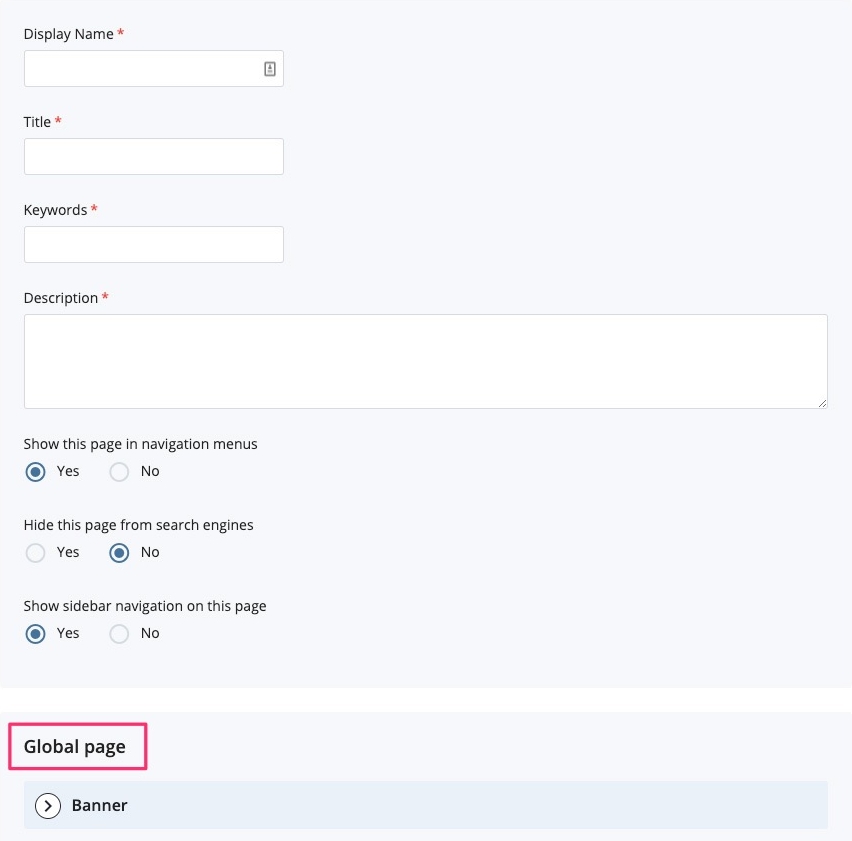
Global page template
Important note: The instructions for each template are slightly different, so choose the relevant option below:
- Scroll down to the Page type option and select a page type. The default option is Content/regular page. Learn more about landing pages and regular pages in the Standard template.

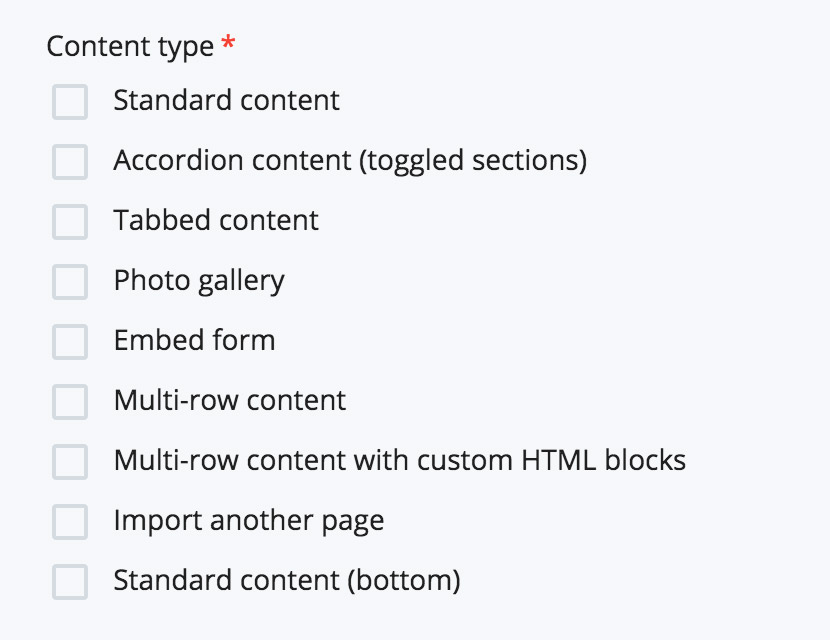
- Select the Component (content type)(s) you want to include on the page. For multiple selections, note that the order in which the Content types are listed in the page editor is the order that the selected content types will appear on the final page.
- Scroll down to the Page type option and select a page type. The default option is Standard page, which means the main content area will have a maximum width. Only choose the Expanded page option if the current page is a home page or landing page with no sidebar navigation menu. Learn more about Page types in the Global template.

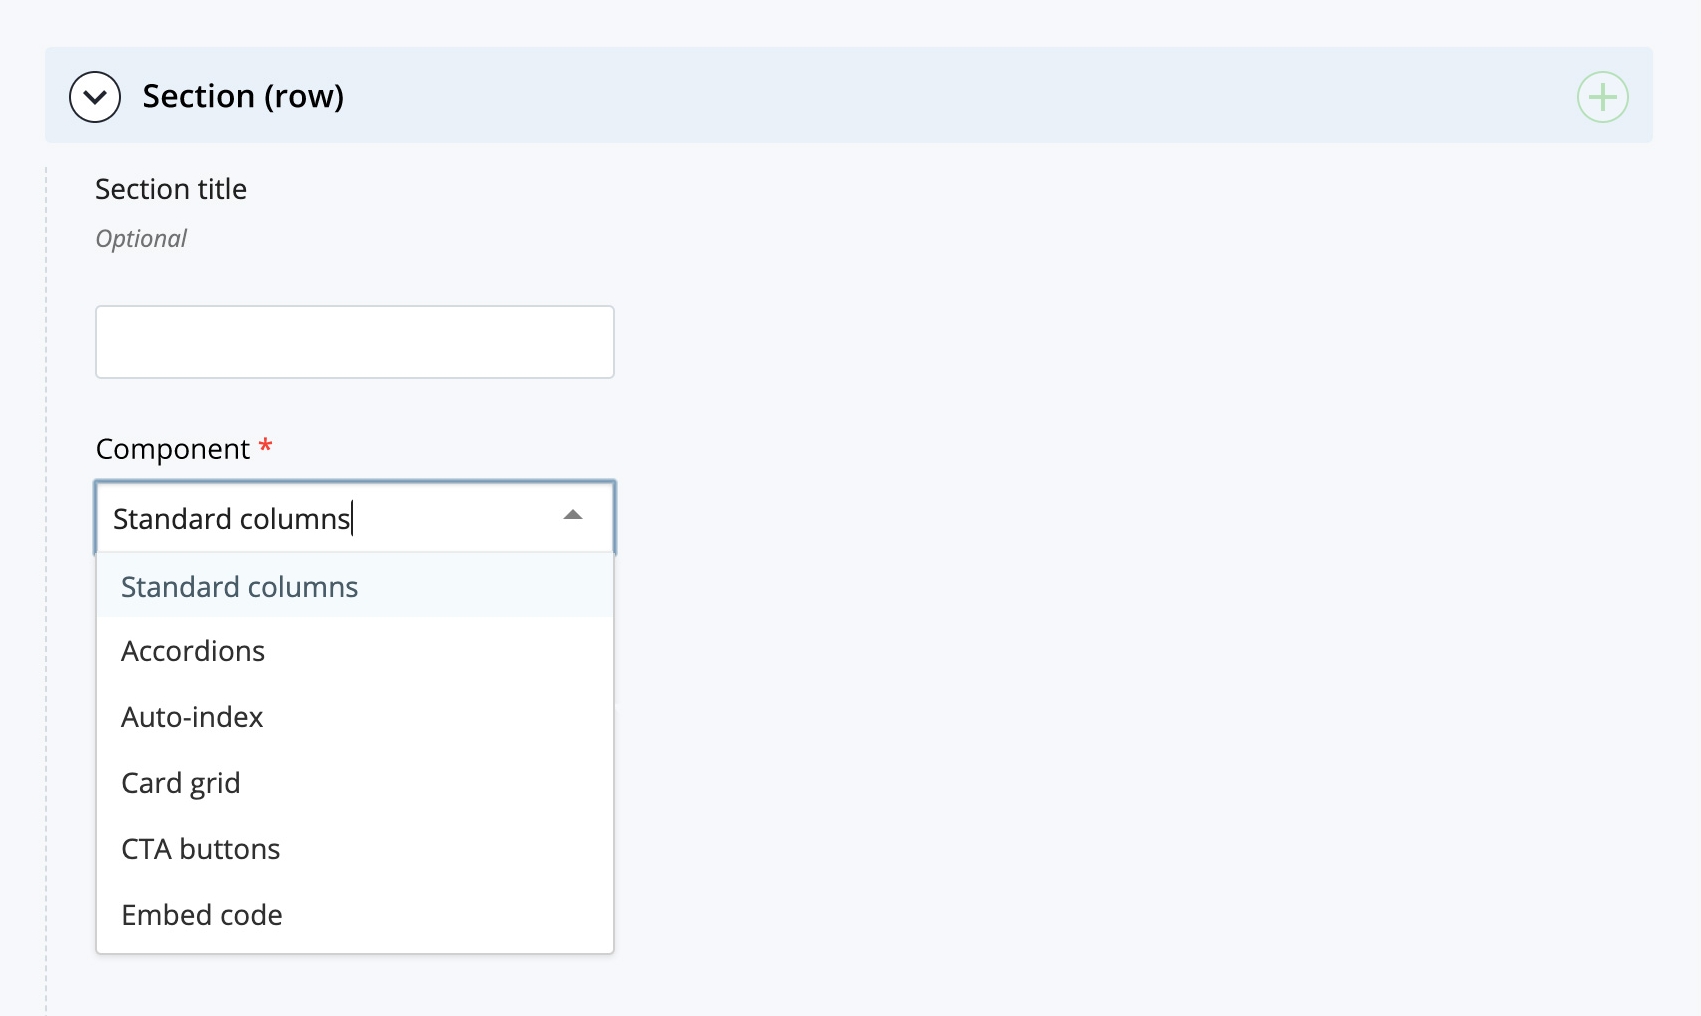
- Page content is split up into Sections or Rows, one after the other. You can have one or more sections on a page. For each section, you can choose a different layout option, or Component. A Section title is optional; if you fill out this field, a level-2 (H2) heading will be added above the section content.
- Follow the instructions for the specific component you want to add to the page:
- If you want to preview your page at any time, click Save & Preview in the top right corner of the page editor. The CMS will show a preview of the page as it would appear on the live site once the page is published (ensure that you are viewing your Draft instead of the Current version). To continue editing your page, click Edit from the Asset editing toolbar.

- To submit your page for publishing and to begin the workflow process, click Submit from the Asset editing toolbar. You can enter an appropriate version comment for your changes before clicking Start workflow.