Auto-indexed links - button layout
Auto-indexed links - button layout is a page component that consists of a list of hyperlinks to each of the pages within the current folder (the CMS will automatically scan all pages in the current folder and create links for them), displayed as buttons on the page.
How to
Create an auto-indexed links page (button layout)
- Create a new page or edit an existing page.
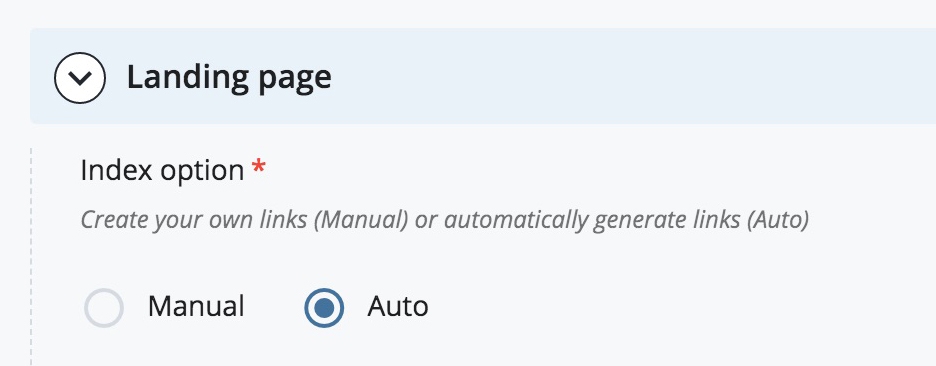
- In the Page type section of the page editor, select the Landing/index page option.

The Landing page editor will appear. - In the Index option field, select Auto.
- Set the display options for the buttons layout:
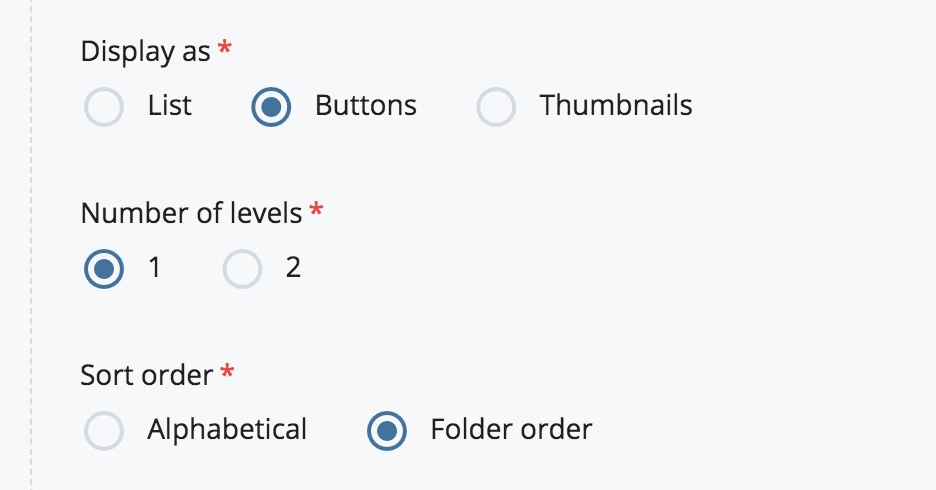
- In the Display as field, select Buttons.
- In the Number of levels field, choose the number of folder levels the CMS should scan. If 1 is chosen, the CMS will scan the sibling pages in the current folder. If 2 is chosen, the CMS will scan the sibling pages in the current folder, and if there is a subfolder, it will also scan the pages in that folder.
- Choose the Sort order of the links—either alphabetical or the folder order.
- Submit the page. The CMS will automatically add the links in a button layout according to the options you have chosen.
- Create a new page or edit an existing page.
- In the current Section, select the Auto-index option from the Component dropdown.
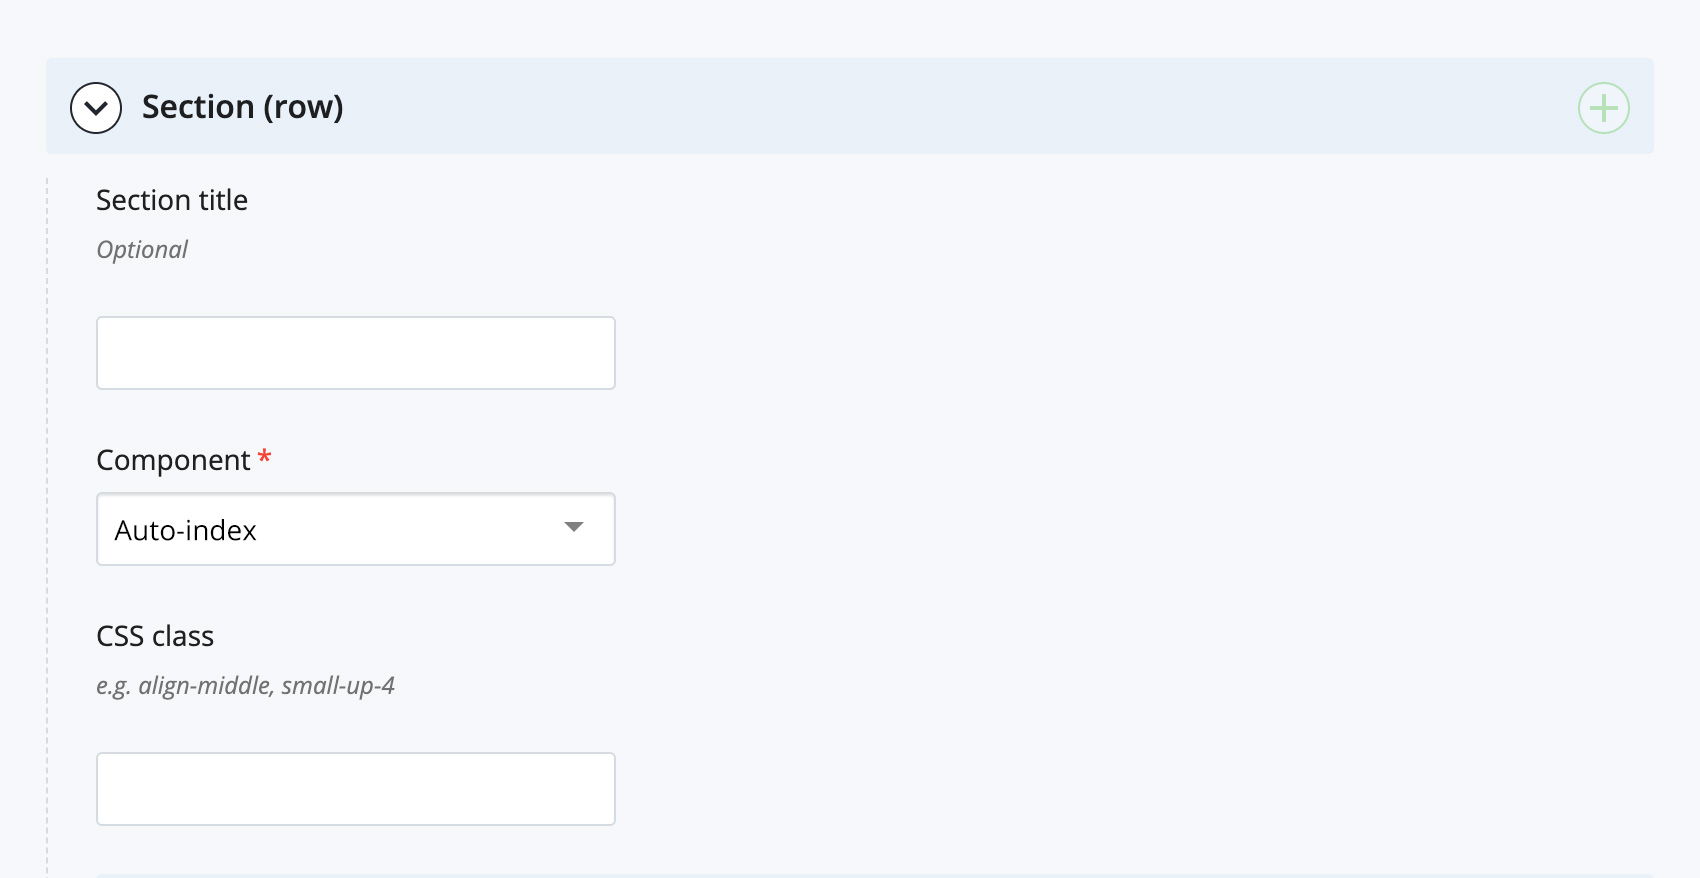
The Auto-index editor will appear. - Set the display options for the buttons layout:
- In the Display as field, select Buttons.
- In the Number of levels field, choose the number of folder levels the CMS should scan. If 1 is chosen, the CMS will scan the sibling pages in the current folder. If 2 is chosen, the CMS will scan the sibling pages in the current folder, and if there is a subfolder, it will also scan the pages in that folder.
- Choose the Sort order of the links—either alphabetical or the folder order.
- Submit the page. The CMS will automatically add the links in a button layout according to the options you have chosen.