Formatting images in the CMS
How to
Resize, rotate, or crop an image
- After you have uploaded your image to the Shared Assets website, Edit the image file.
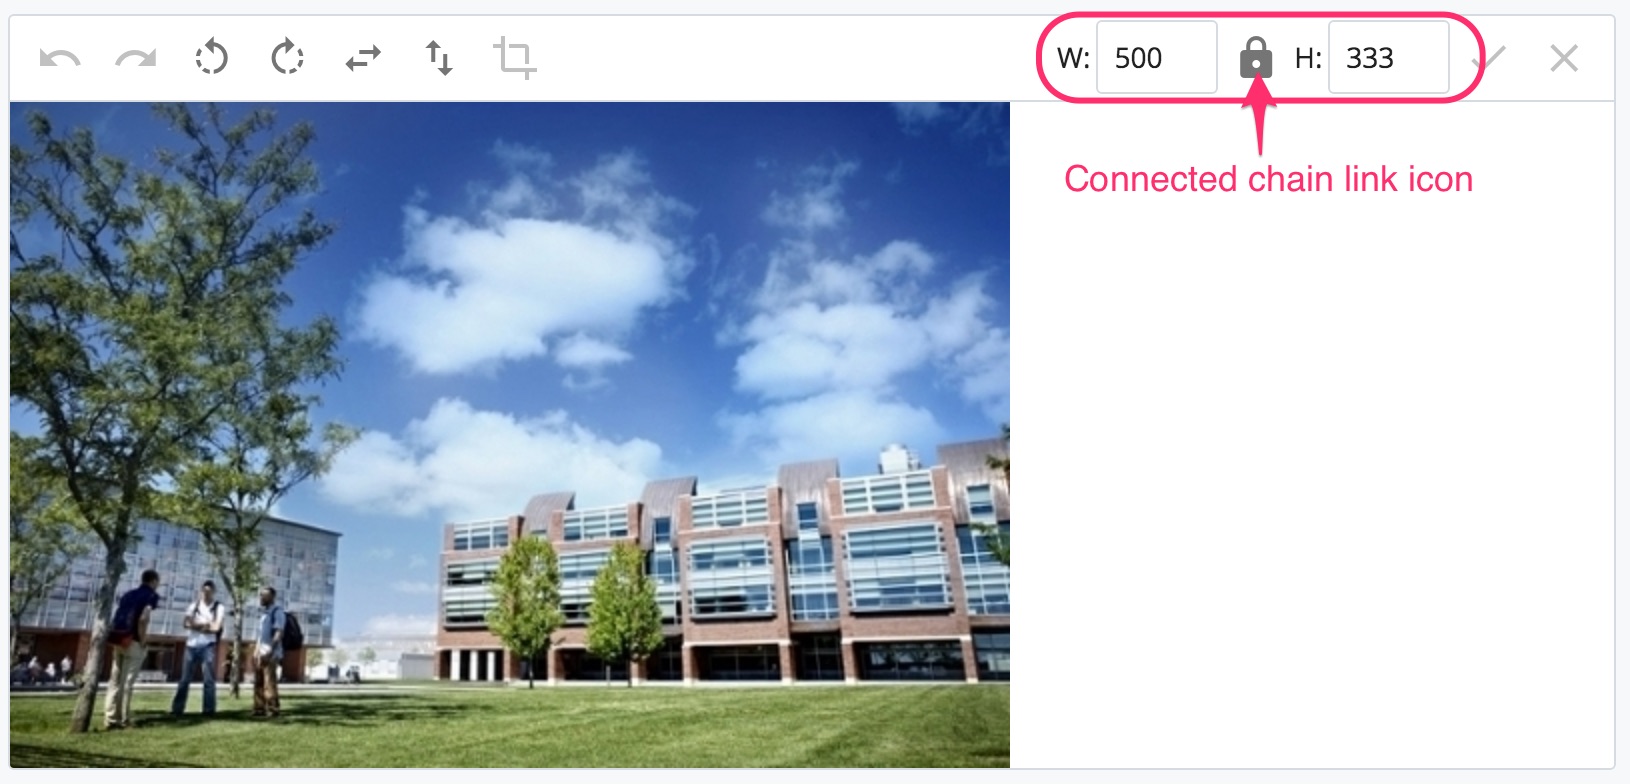
- You can adjust the width and height of the image (ensure that the lock icon is connected to maintain the image aspect ratio).

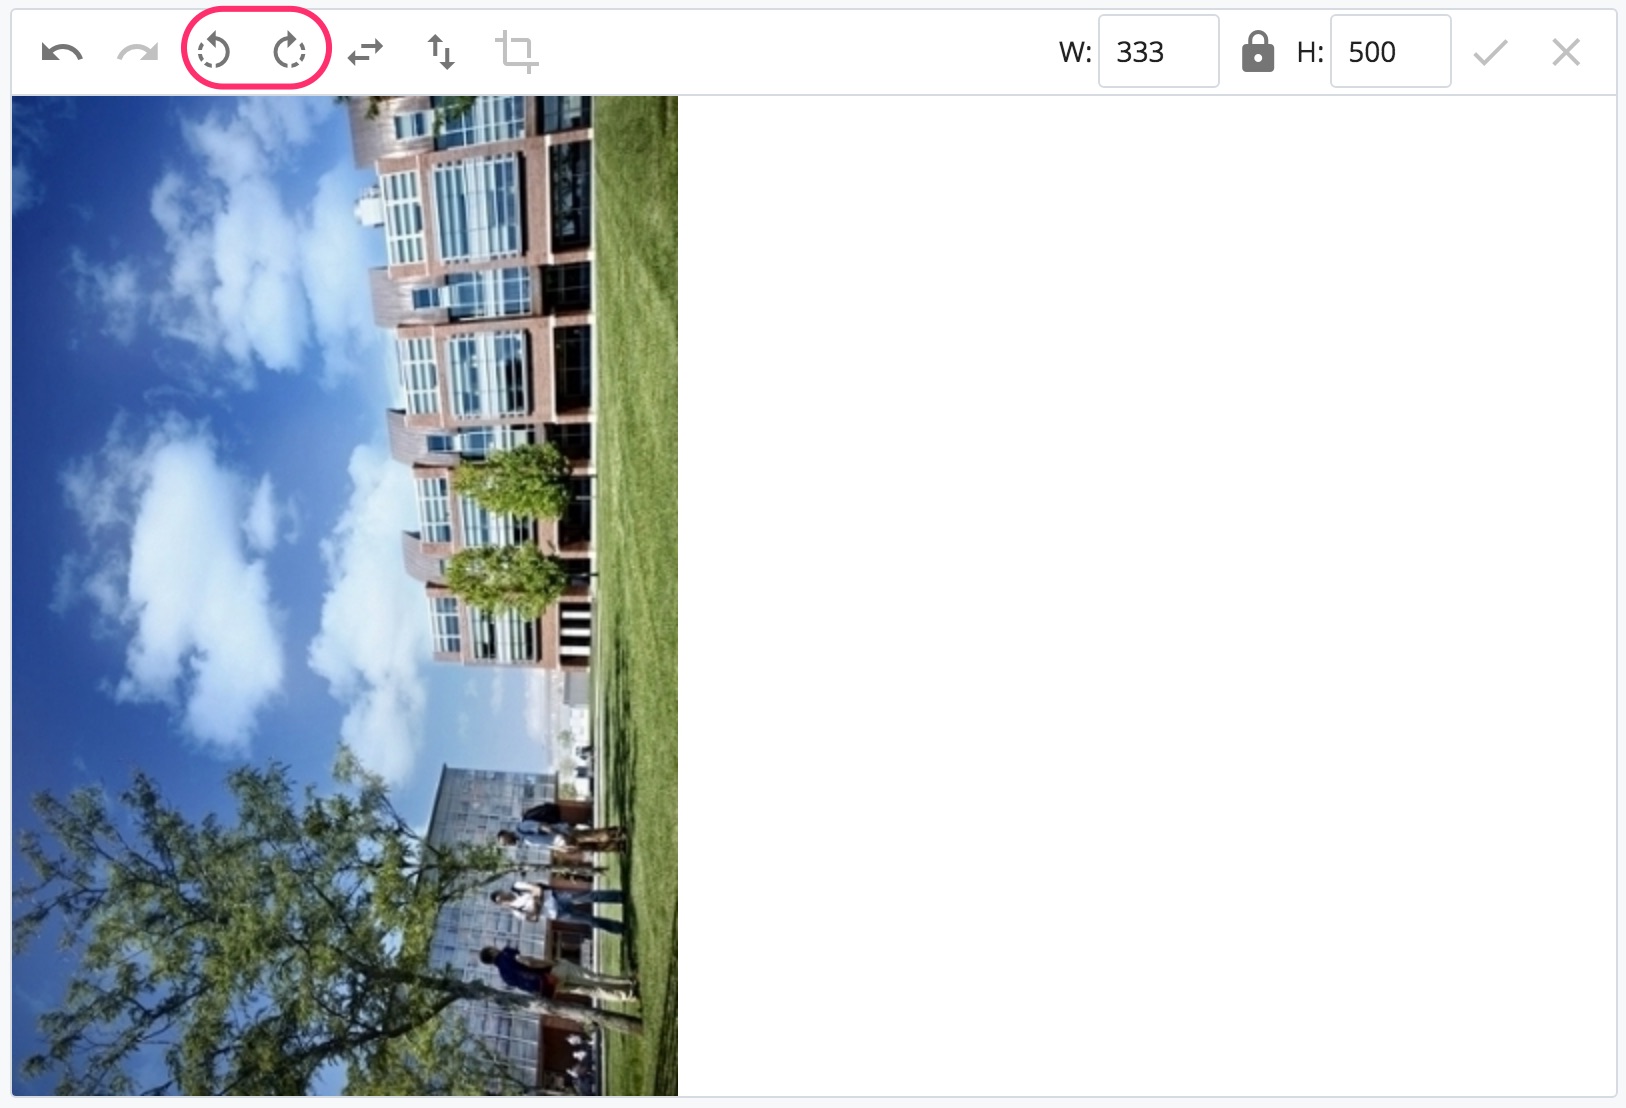
- You can rotate the image by clicking on the rotate icons.

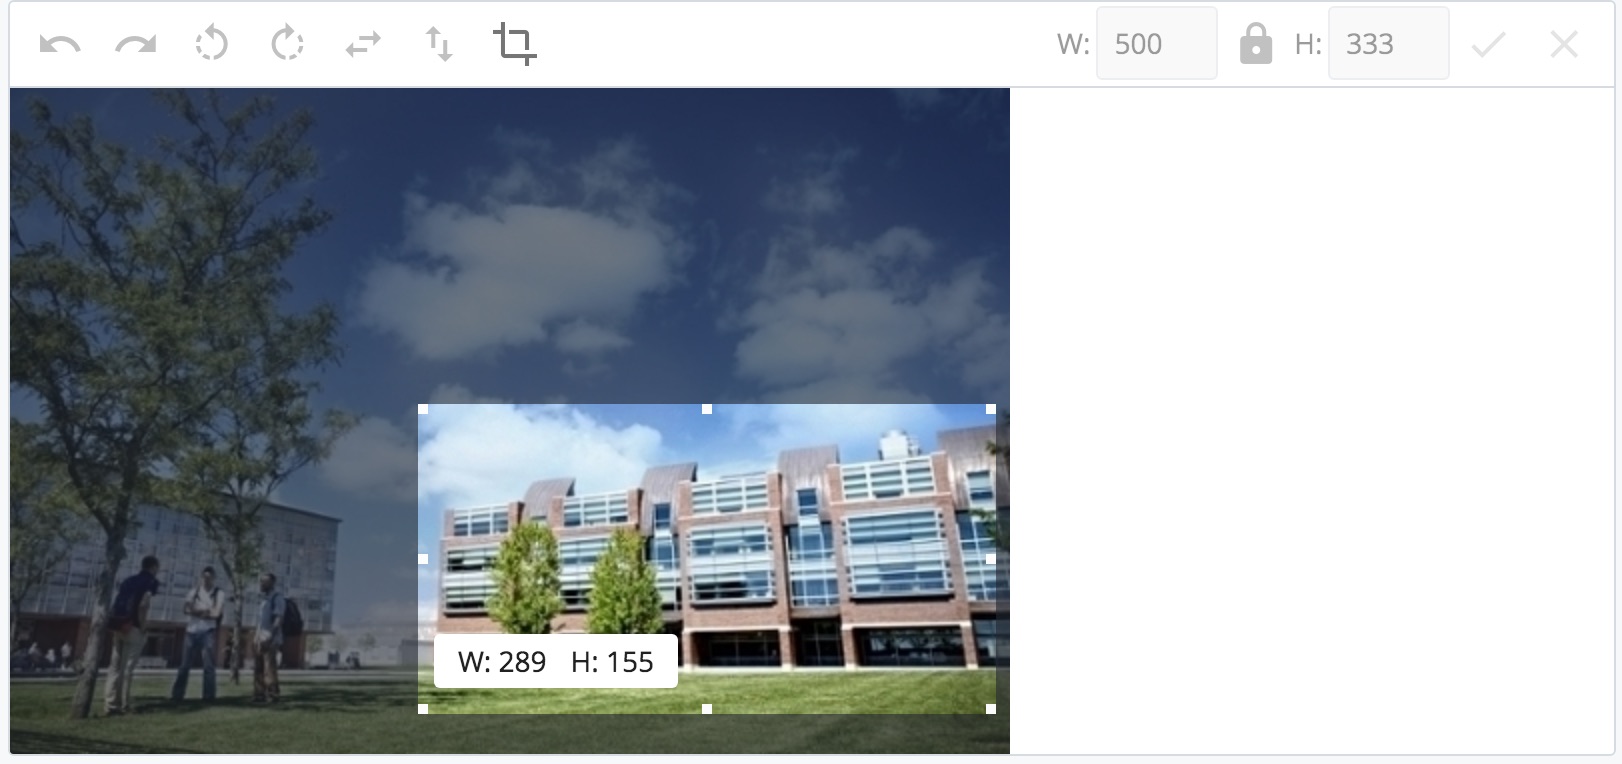
- You can crop the image by holding and dragging your cursor along the image. The new image size is shown in the lower left corner.

Then click the crop icon. - Submit the image file.
- Files uploaded to the Shared Assets site are not in a workflow, so you must publish your own files upon uploading them to the CMS. If not already selected, select the file in the CMS sidebar and select Publish in the secondary navigation tabs. Then click the Publish button.

- To check if your image has been uploaded and successfully published to the shared.uoit.ca site, select the image in the CMS sidebar, select More from the top right corner of the screen, then select Live. The image will open in a new browser tab. If the image appears in the browser, the file was successfully published. Otherwise, go back to the image file in the CMS and publish it.