Links
Link text must be descriptive and indicate where the link leads. Don't use vague phrases like "click here".
Vague link text creates barriers for users relying on assistive technologies like screen readers. Screen readers can read out all links on a page in isolation, skipping surrounding content — so a link that just says "click here" gives the user no meaningful information about its destination.
For example:
Correct: For more information, view the university policies.
Incorrect: For university policies, please click here.
A quick test for accessible link text: Remove the link text from its sentence. If it still makes sense on its own, it's descriptive enough to be accessible.
In the example above, "university policies" is clear and logical without any surrounding context, making it AODA-compliant.
The Title attribute can supplement link text with additional context. When a user hovers over a link, a small tooltip appears—this is the Title attribute. It can be used to provide extra detail that the link text alone doesn't convey.
For example:
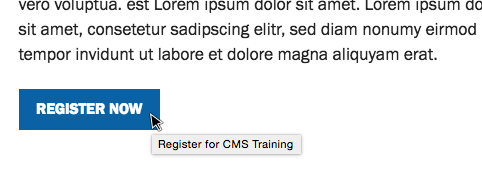
A link that simply reads "Register now" doesn't tell the user much. Adding a Title of "Register for CMS Training" gives it the context it lacks.
Writing effective CTA and heading link text
Headings
Headings should be punchy, direct, and conversational — capable of telling the story in a single line. If a heading is also a link, it must be written to feel actionable, not just descriptive.
CTAs and link text
Strong CTA text is direct, active, and specific. It should:
- Incite curiosity
- Feel relatable
- Build trust or invite proof
For example: "See how we did it," "Start your career," "Join the next generation of X," "See our commitments in action."
Avoid "Learn more"
CTAs are visually prominent and are often the first thing a user reads — before any surrounding copy. A link that says "Learn more" is meaningless without that context. Learn more about what?
Instead, use text that works on its own: "Find your program" or "Co-op and experiential learning" are clear and self-contained. Any accompanying body text should be supplementary — it can expand on the topic, but a user shouldn't need to read it to understand where the link leads.
There are four types of links that you can create in the CMS: internal, external, anchor, and reference links.
-
Internal link
Internal link is a link to a page or document that is in the CMS. Internal links are managed or tracked by the CMS system, which means that the link will automatically be updated if the linked asset is moved or renamed.
Access to other sites within the CMS can be made available to your faculty, department, or user group for the purpose of internal linking on a case-by-case basis. If you need to link to a page in the CMS but you do not have access to the website, please contact the Web Team and request read-access to the website.
How toCreate an internal link
- Type the link text (a portion of the text that will be the link). Be sure to follow accessibility guidelines when creating link text.
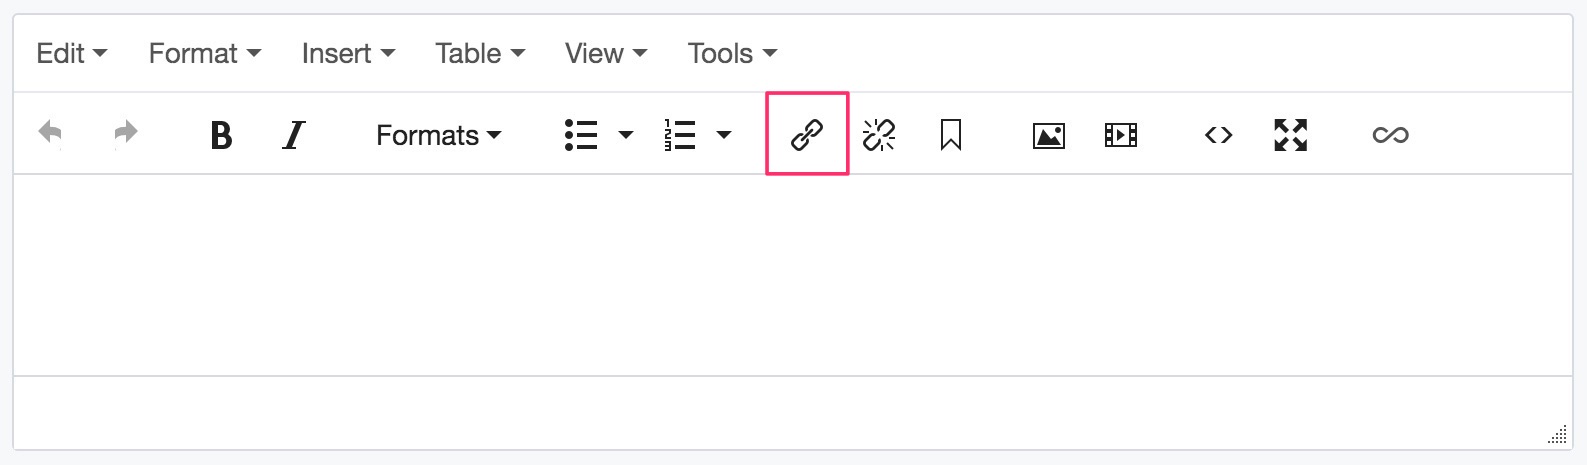
- Highlight the link text and select the Insert/Edit Link icon from the WYSIWYG editor toolbar, or right-click the link text and select Insert/Edit Link.
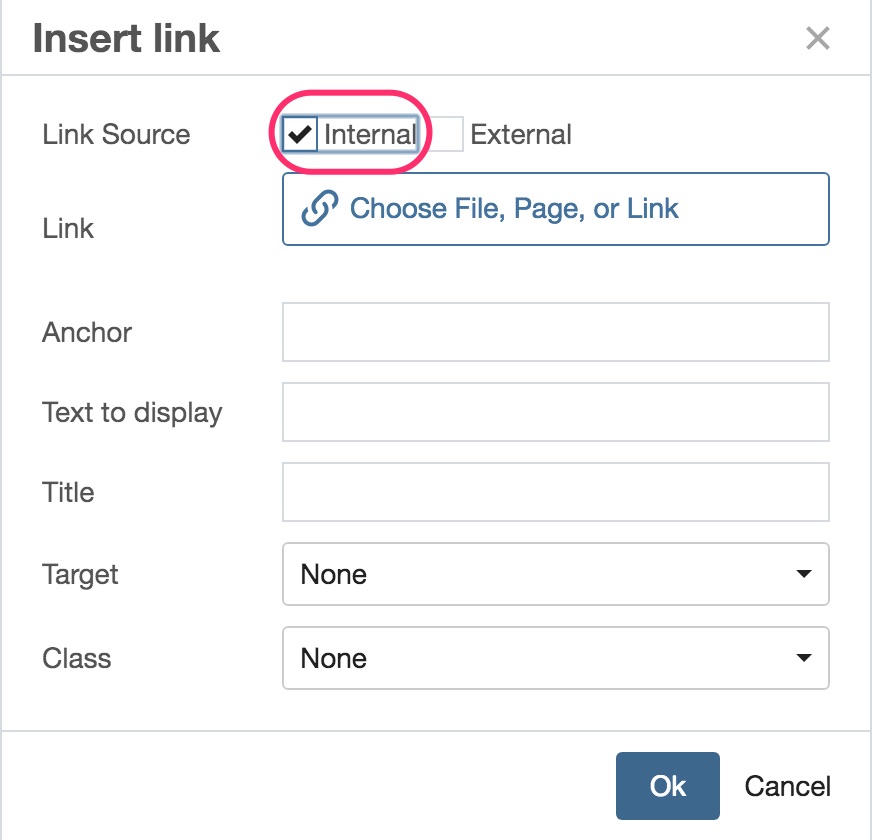
- The link editor will appear.
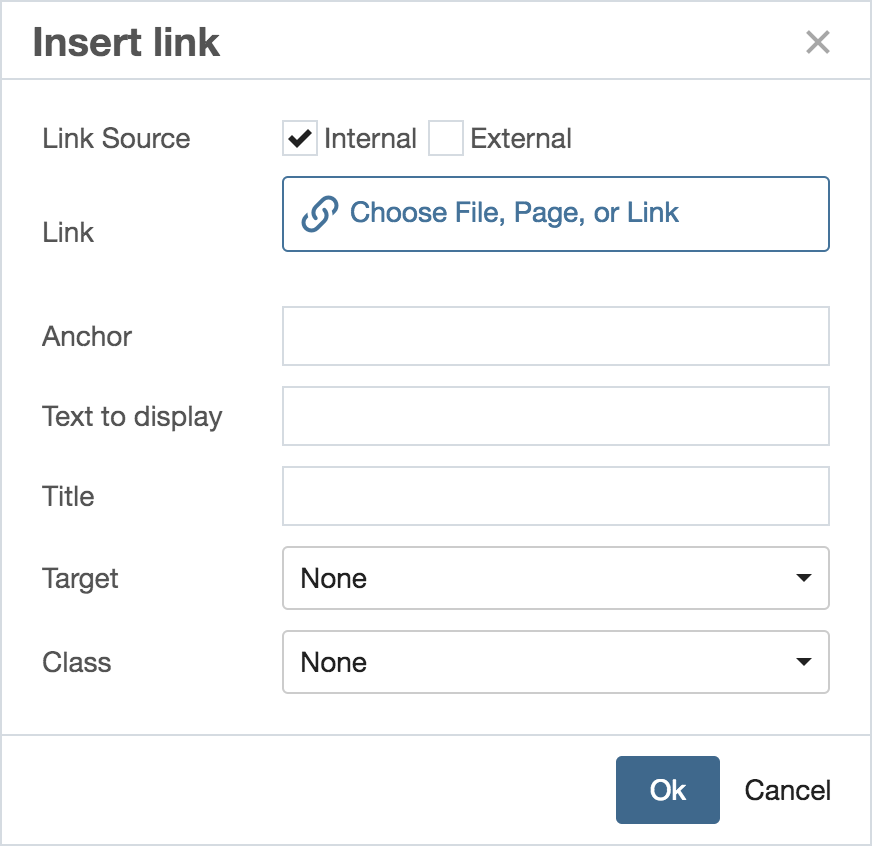
- Link Source - the type of CMS link. Select Internal to link to a page or file in the CMS.
- Link - the linked page. Click the field and browse to and select the page in the CMS.
- Anchor - (optional) an ID or tag that specifies which section of a page that the reader will be brought to when the link is clicked. Learn more about anchor links below.
- Text to display - the link text. Ensure that the link text is accessible and descriptive.
- Target - choose whether the page or file should open in the same (None) or a new browser tab (New window). Typically, if the linked page is a university page, it should open in the same browser tab/window, otherwise, external web pages can open in a new tab.
- Class - (optional) a style to add to the link. For example, if you would like the link to appear as a button, select Button from the dropdown list.
-
External link
External link is a link to a page or document that is either outside of the CMS, or in the CMS but not managed or tracked by the CMS system. The full URL of the linked page or document is used to create the external link. If the linked asset is in the CMS, but is linked to externally, the link will not be updated if the linked asset is moved or renamed.
How toCreate an external link
- Type the link text (the text that you want to be a "clickable" link). Be sure to follow the accessibility guidelines above when creating link text.
- Highlight the link text and select the Insert/Edit Link icon from the WYSIWYG editor toolbar, or right-click the link text and select Insert/Edit Link.
- The link editor will appear.
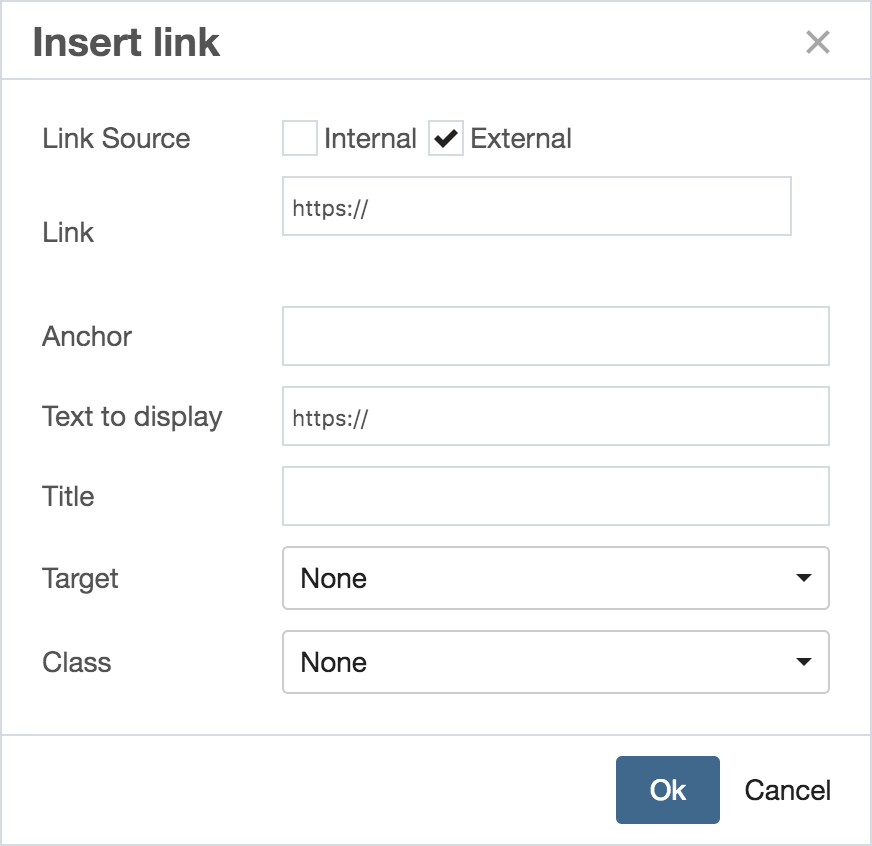
- Link Source - the type of CMS link. Select External to link to an external URL.
- Link - the linked page. Enter the external URL here.
- Anchor - (optional) an ID or tag that specifies which section of a page that the reader will be brought to when the link is clicked. Learn more about anchor links below.
- Text to display - the link text. Ensure that the link text is accessible and descriptive.
- Target - choose whether the page or file should open in the same ( None ) or a new browser tab ( New window ). Typically, if the linked page is a university page, it should open in the same browser tab/window, otherwise, external web pages can open in a new tab.
- Class - (optional) a style to add to the link. For example, if you would like the link to appear as a button, select Button from the dropdown list.
-
Anchor link
Anchor link is a link within a page that jumps to a specific point or section on that page.
How toCreate an anchor link
Create an anchor link within the current page (e.g. for a table of contents on a long page) Create an anchor link to a section on another page
Part 1: Create the link text
- Type the link text (a portion of the text that will be the link). Be sure to follow accessibility guidelines above when creating link text.
- Highlight the link text and select the Insert/Edit Link icon from the WYSIWYG editor toolbar, or right-click the link text and select Insert/Edit Link.
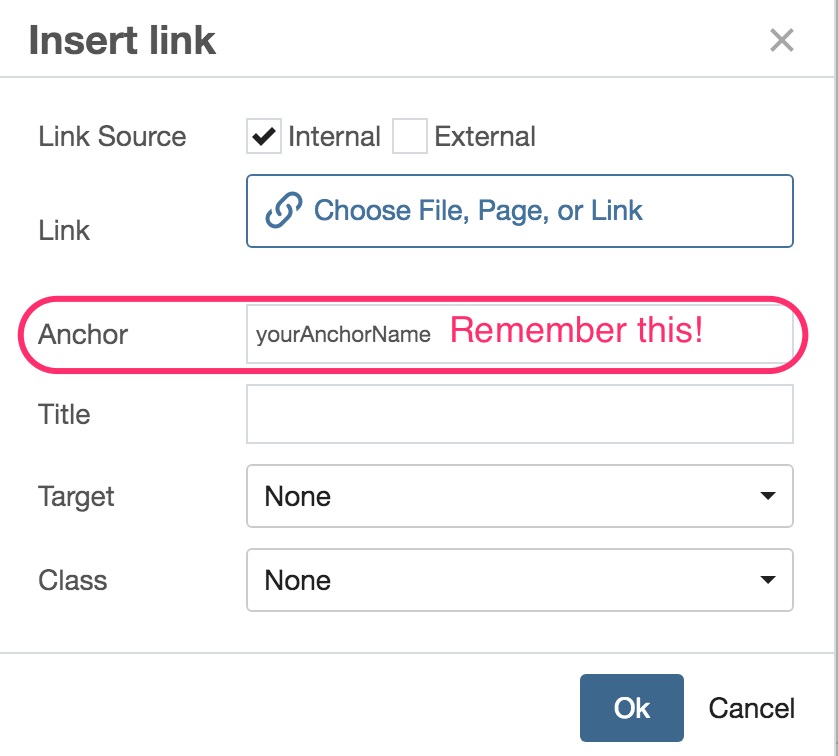
- Select Internal
- In the Link field, click Search and browse to the page in the CMS. If the linked section is on the current page, the Link path can remain empty.
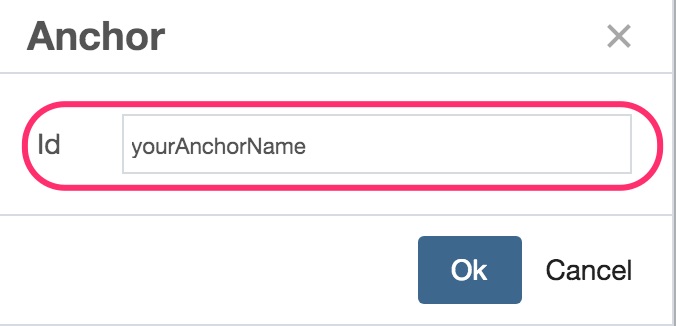
- In the Anchor field, enter a unique name for the section to which you want the link to point. This name cannot have any spaces or special characters. Make a note of what this name is (or copy and paste it somewhere on your computer so that you can access it later).
- Select whether the page should open in a new browser tab or window in the Target field. Typically, if the linked page is a university page, it should open in the same browser tab/window.
- If you would like the link to appear as a button, select button from the Class field dropdown list.
Part 2: Create the anchor
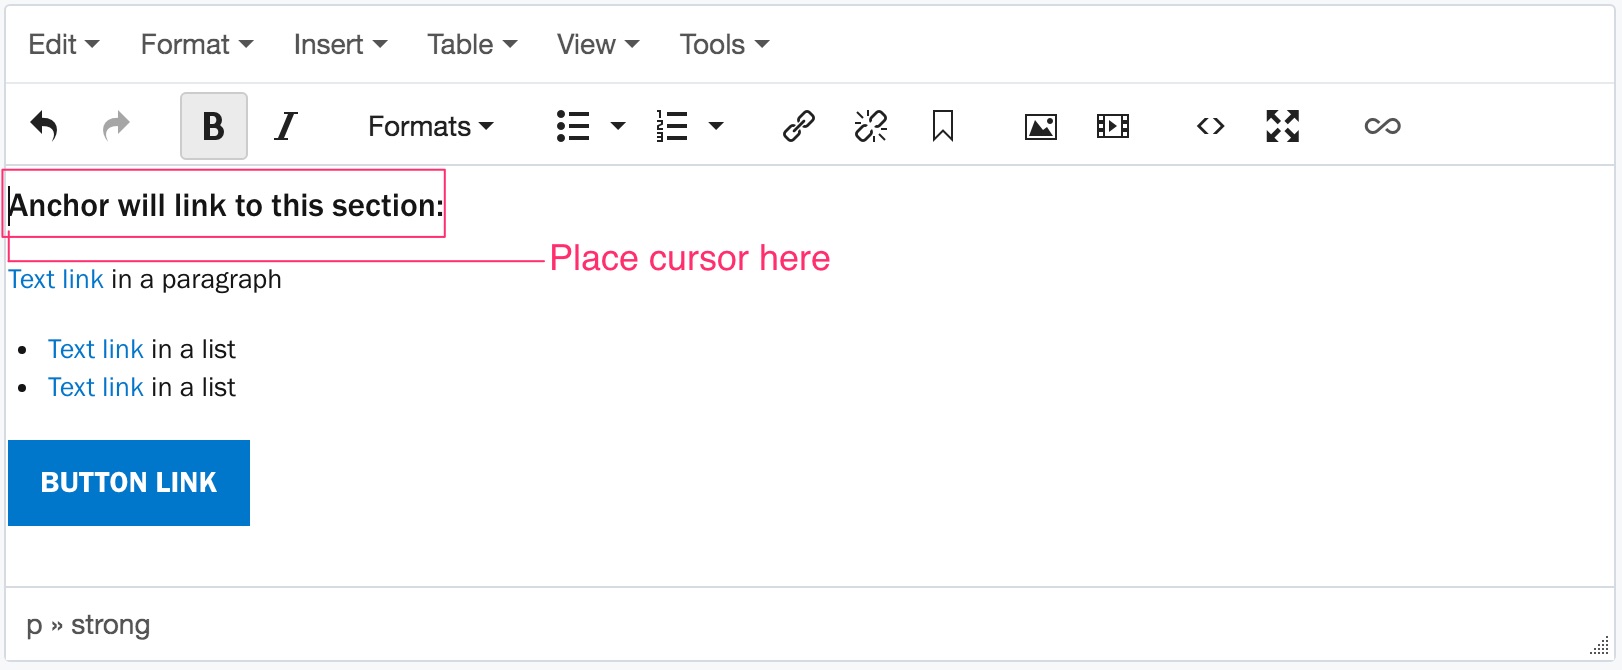
- If the linked section is on another page, browse to that page in the CMS and edit the page.
- In the WYSIWYG editor content editor, locate the section where the anchor link should point. Place your cursor immediately before the beginning of the text in the section.
- Select the Insert/Edit Anchor icon from the WYSIWYG editor toolbar.
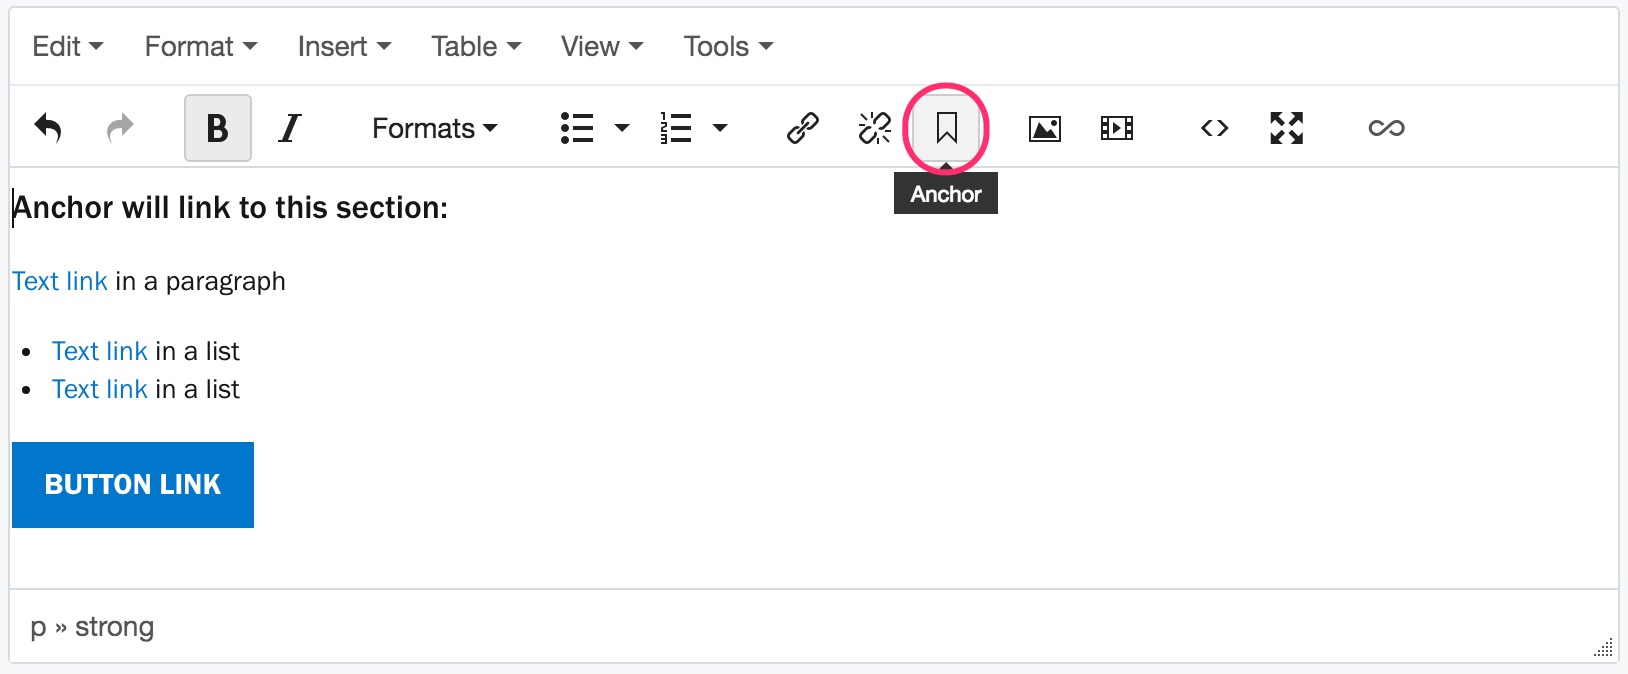
- Enter the unique anchor name exactly as you entered it in part 1, step 5 above.
-
Reference link
Reference link is a link in the navigation menu to a page in the CMS that exists in another location. A page can thus appear to exist in multiple locations (menu sections), but when the link is selected, it directs back to the original page. Therefore, you only have to manage the content on a single page.
To avoid jumping the user to a different menu section or website, you can instead use the Import another page content type option. This takes the content from the original page and inserts it into the current page in the current section (the “copied” page). The same content will then appear in multiple locations, but only the original page will have to be managed (changes to the original page will automatically carry over to the imported page).
How toCreate a reference link
- Create your original page.
- Browse to and select the original page in the CMS sidebar.
- a) Hover over the page in the CMS sidebar, click on the arrow that appears and select Reference.
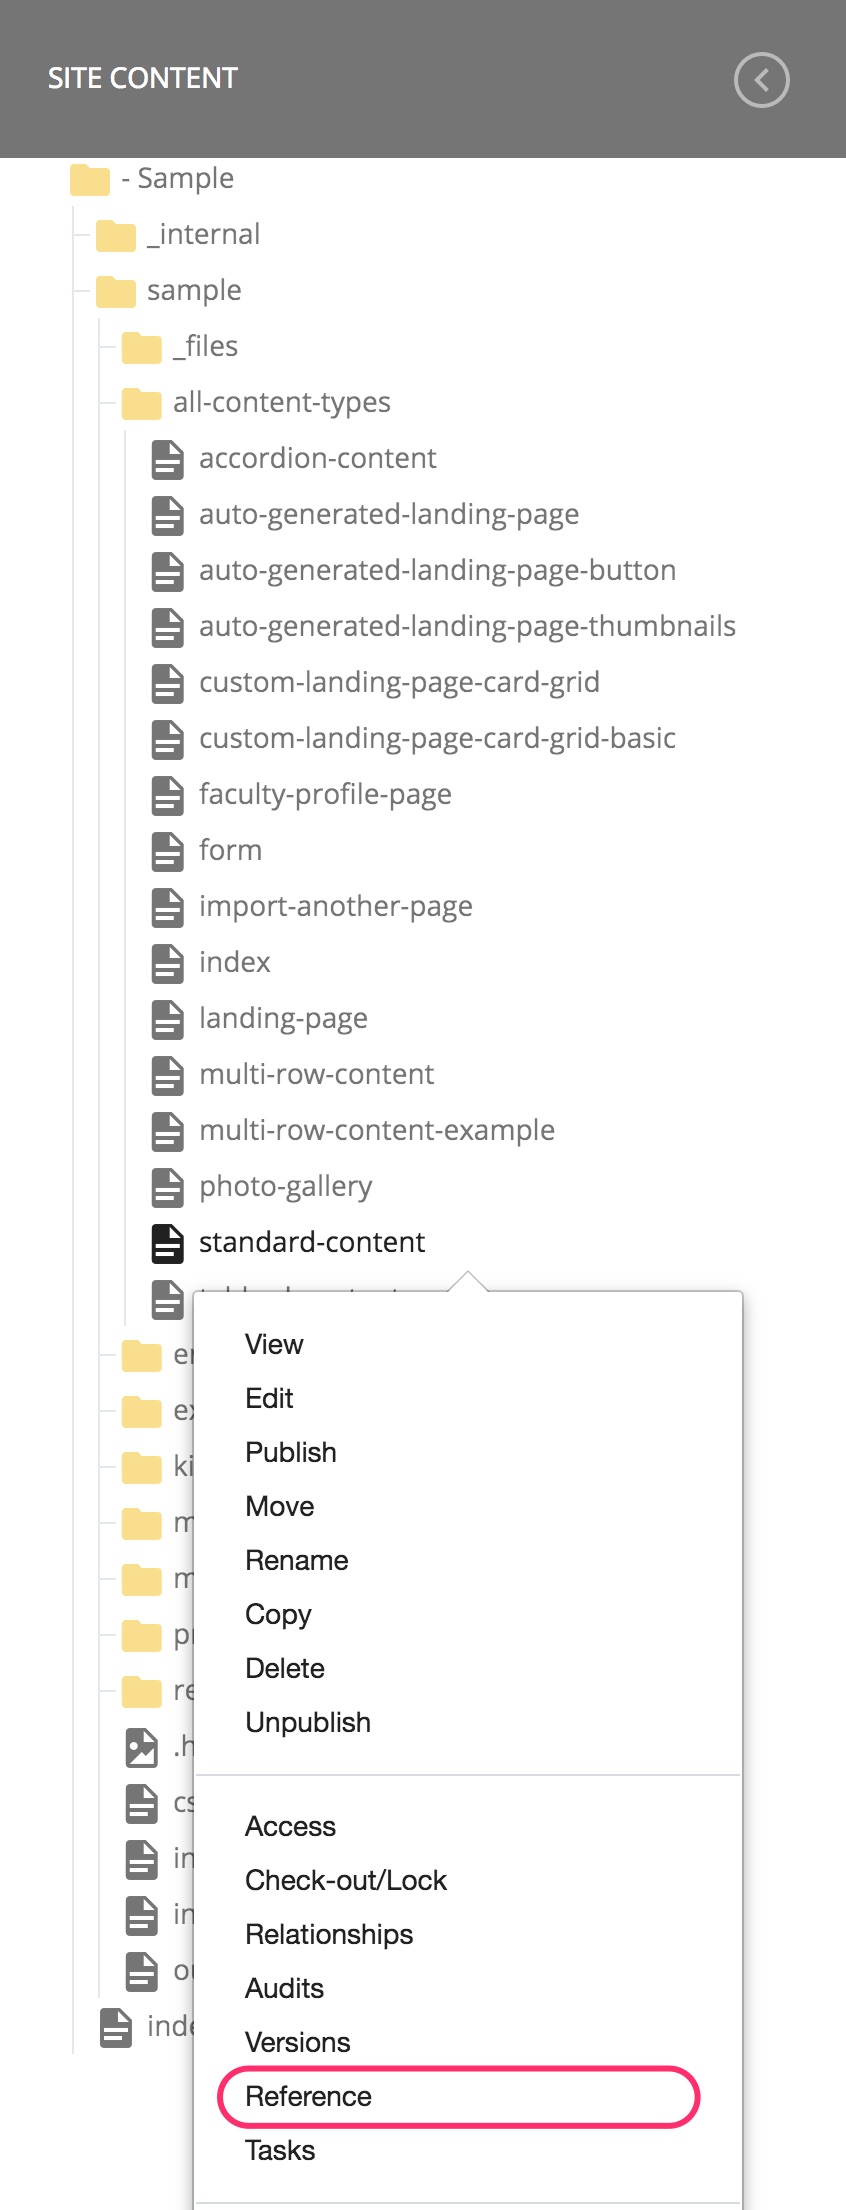
OR
b) In the secondary navigation tabs, select More and select Reference.
- In the reference link editor screen, the System Name field will be automatically populated with the current System Name of the original page. This should remain the same, but if you do choose to change it, ensure that it has no spaces (dashes should be used) and all characters are lowercase. The System Name does not affect how the link name will appear in the menu—it will take the Display Name of the original page. The System Name only affects the URL of the link.
- In the Parent folder field, browse to and select the menu subsection or folder where you want the 'copied' page link to appear.